Add interaction component
Add interaction component and box collision
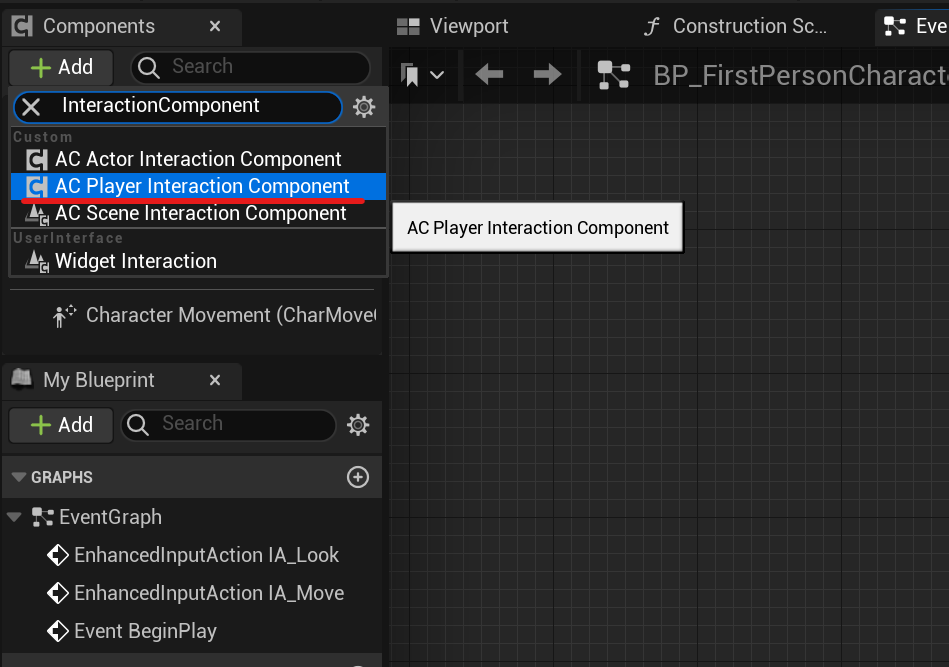
Open your character’s blueprint and add the Player Interaction Component to it.
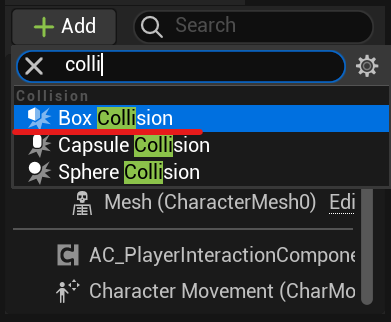
Also add a Box Collision
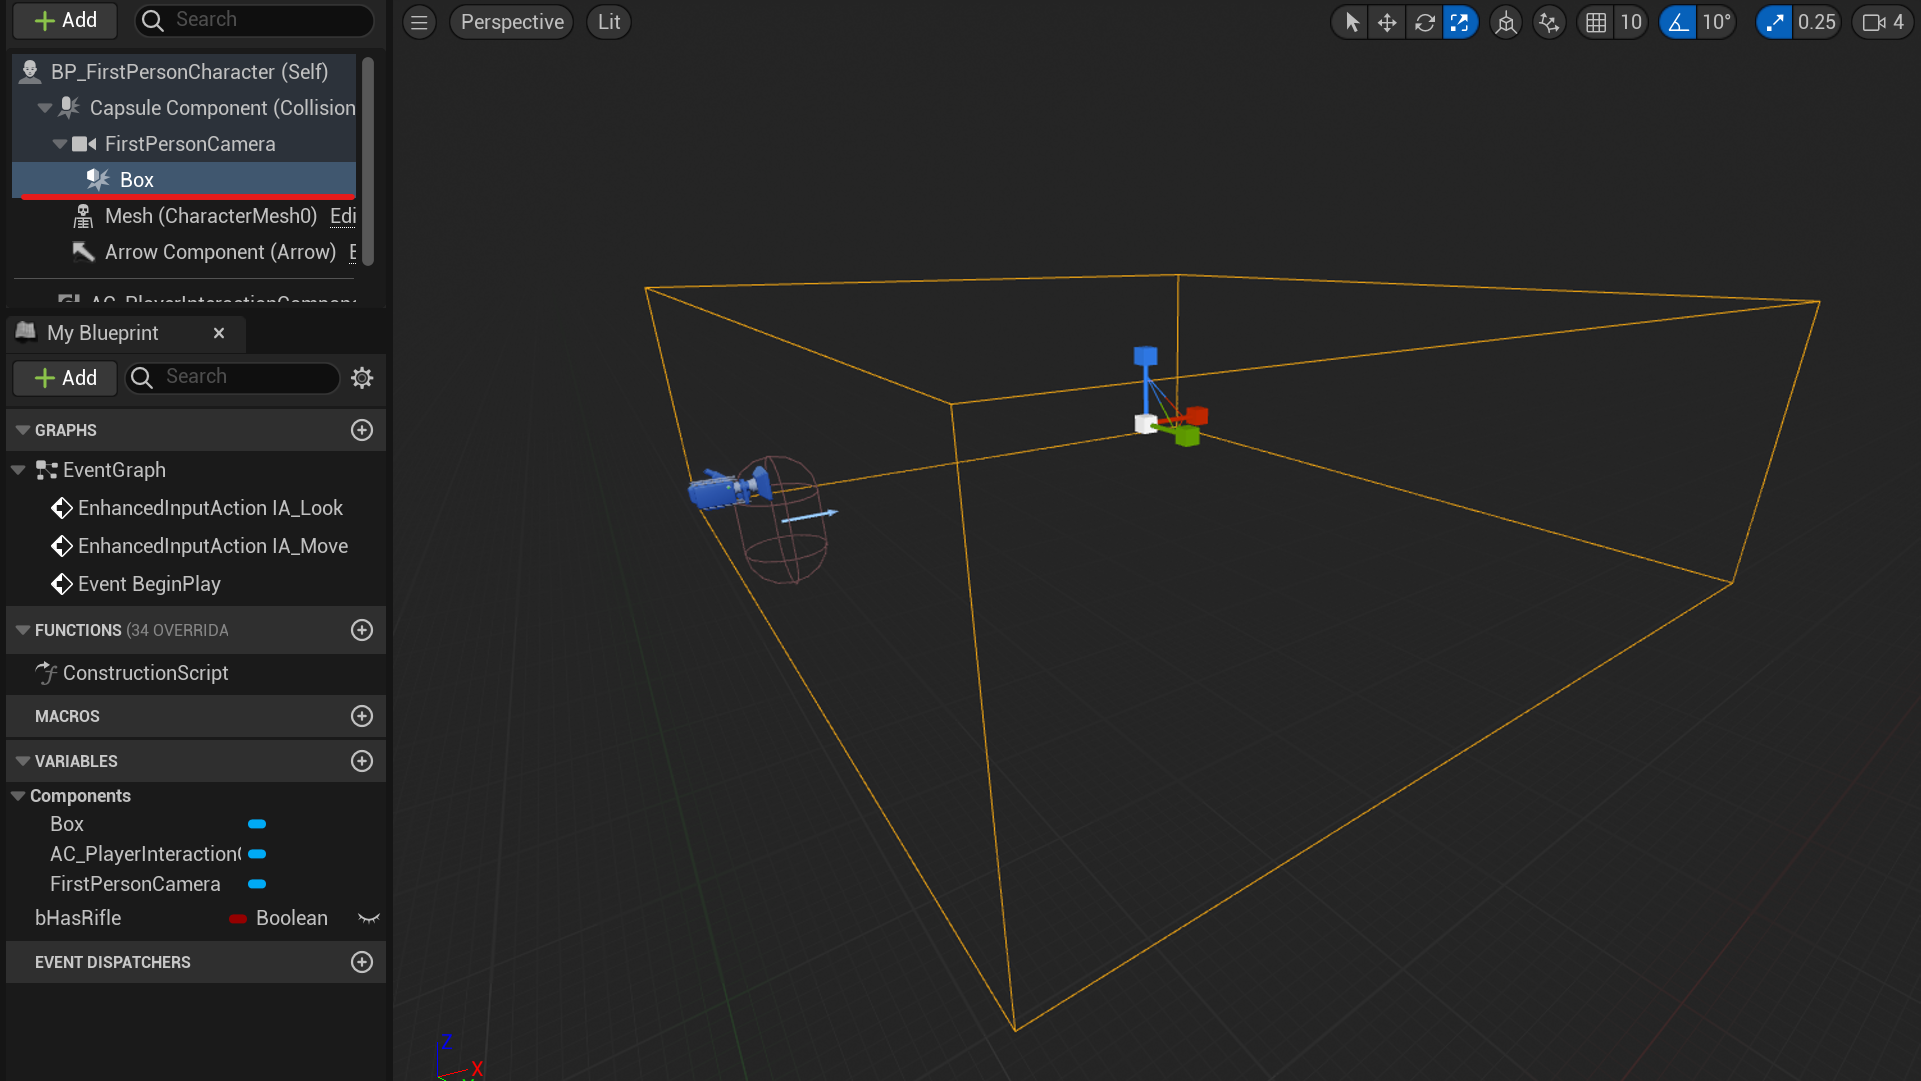
Attach a Box Collision to your camera and place it in front of it roughly as shown in the screenshot.
This is the visibility area for the Interaction component. Place it a little larger than you need, as the visibility range is set separately in the settings later.
Later you can replace this collision with any of your own or use other ways to get links to the actors in front of you.
Highlight items
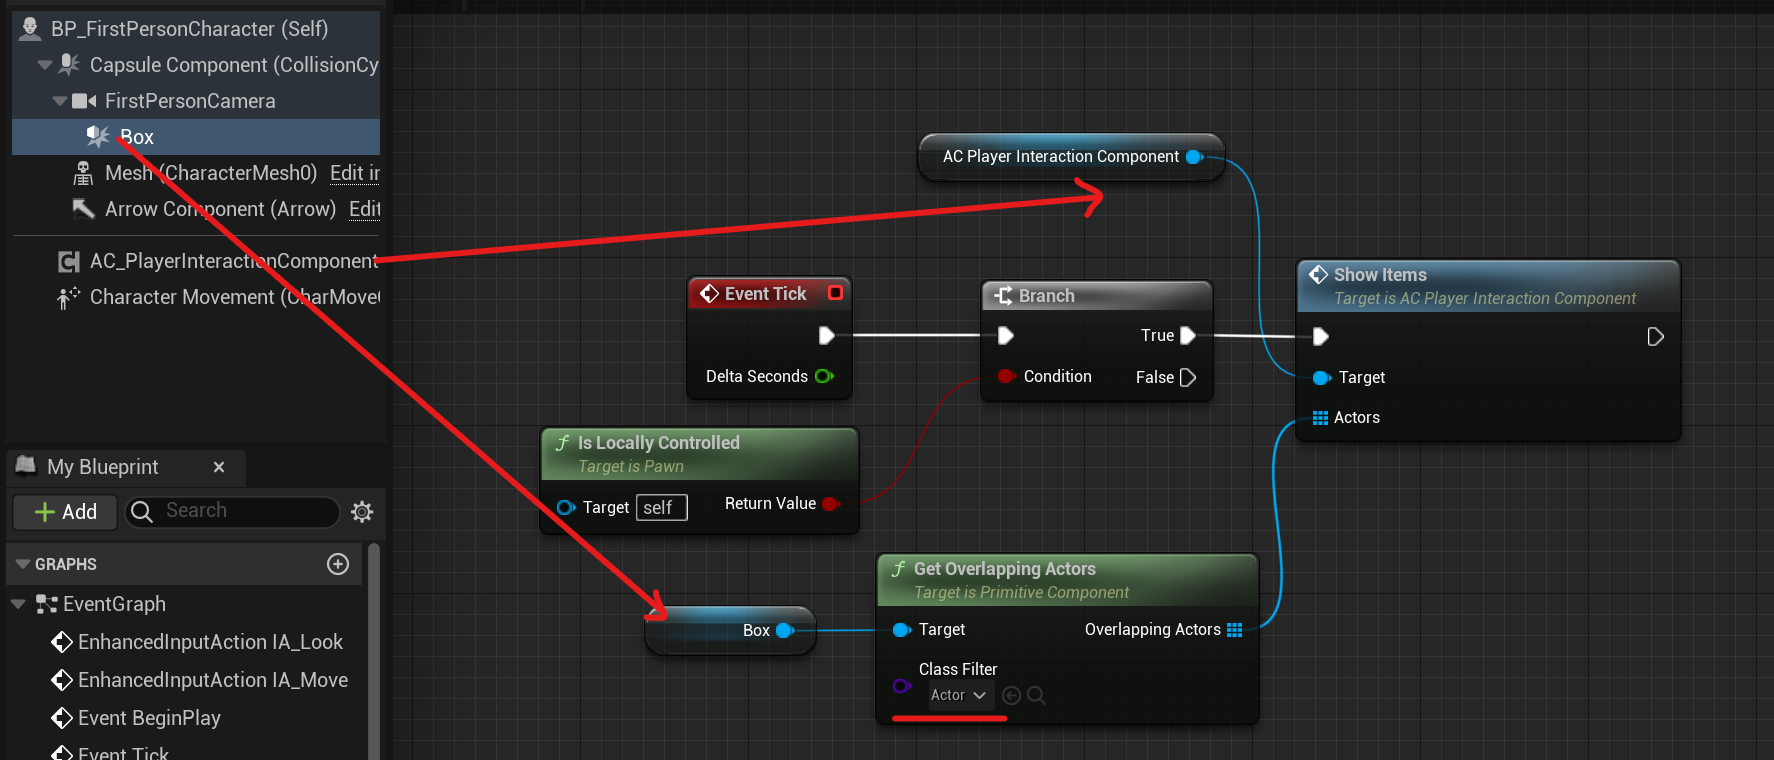
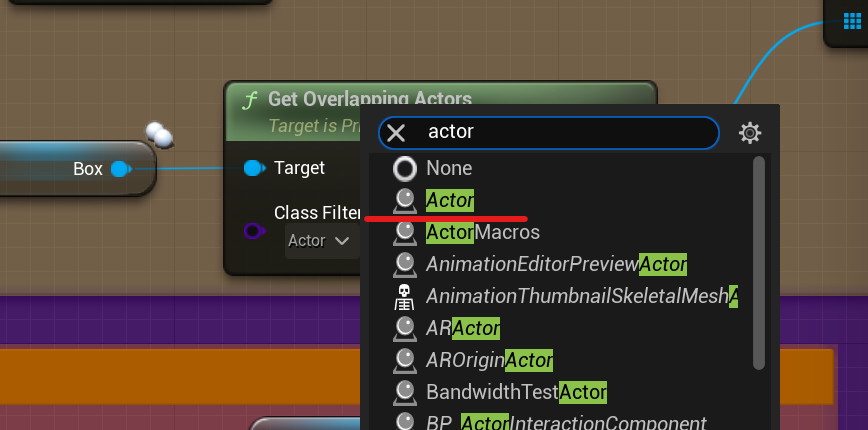
Now connect the Show Items function from the Player Interaction Component to Event Tick. Take the Box Collision and call the Get Overlapping Actors function from it, place the actor in the input value of Class Filter. Connect the result of this function to the Show Items function.
If the game is multiplayer, you need to make sure that this function is called only locally by checking with the Is Locally Controlled function.
Interact button
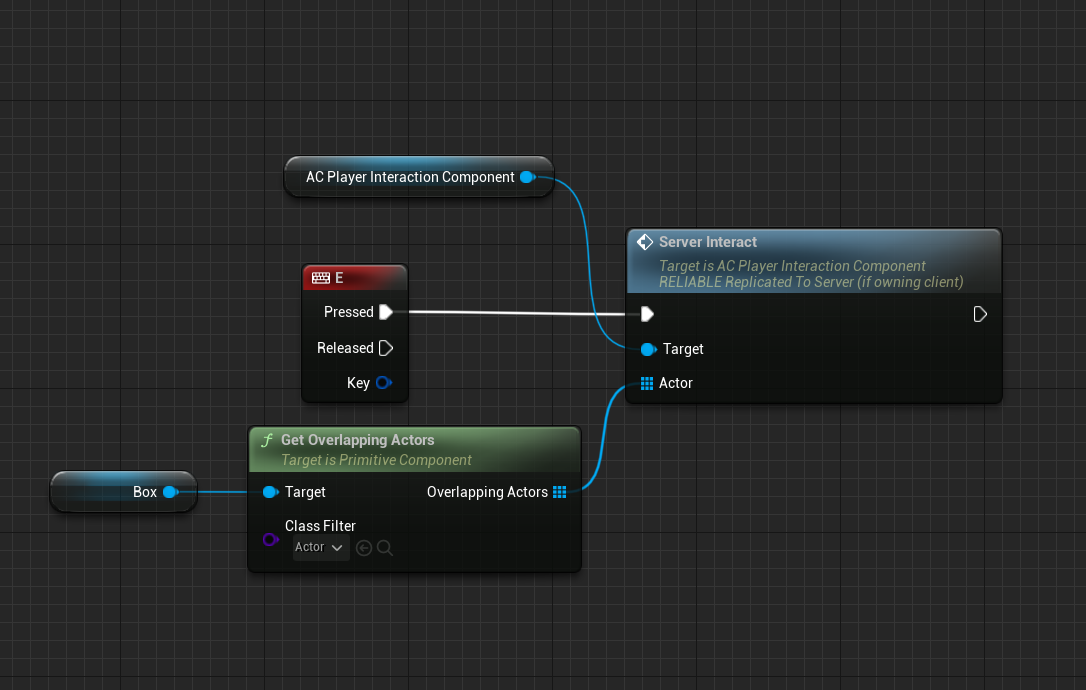
Now connect the Server Interact function to any event as shown in the screenshot below. In the example, I connected it to the 'E' key press.
Options
Now you need to configure the Player Interaction Component. To do this, click on it and in the Details tab, expand the Options category.
The first three variables are responsible for how much you can deviate the camera from the item so that you can pick it up.
The other two variables are for the distance at which items will be highlighted and the distance at which you can pick them up. These two parameters can be set individually for each item that can be interacted with.
For now, I advise you to leave these default settings and check if everything works.

Launch the demo map located in the directory shown in the screenshot.
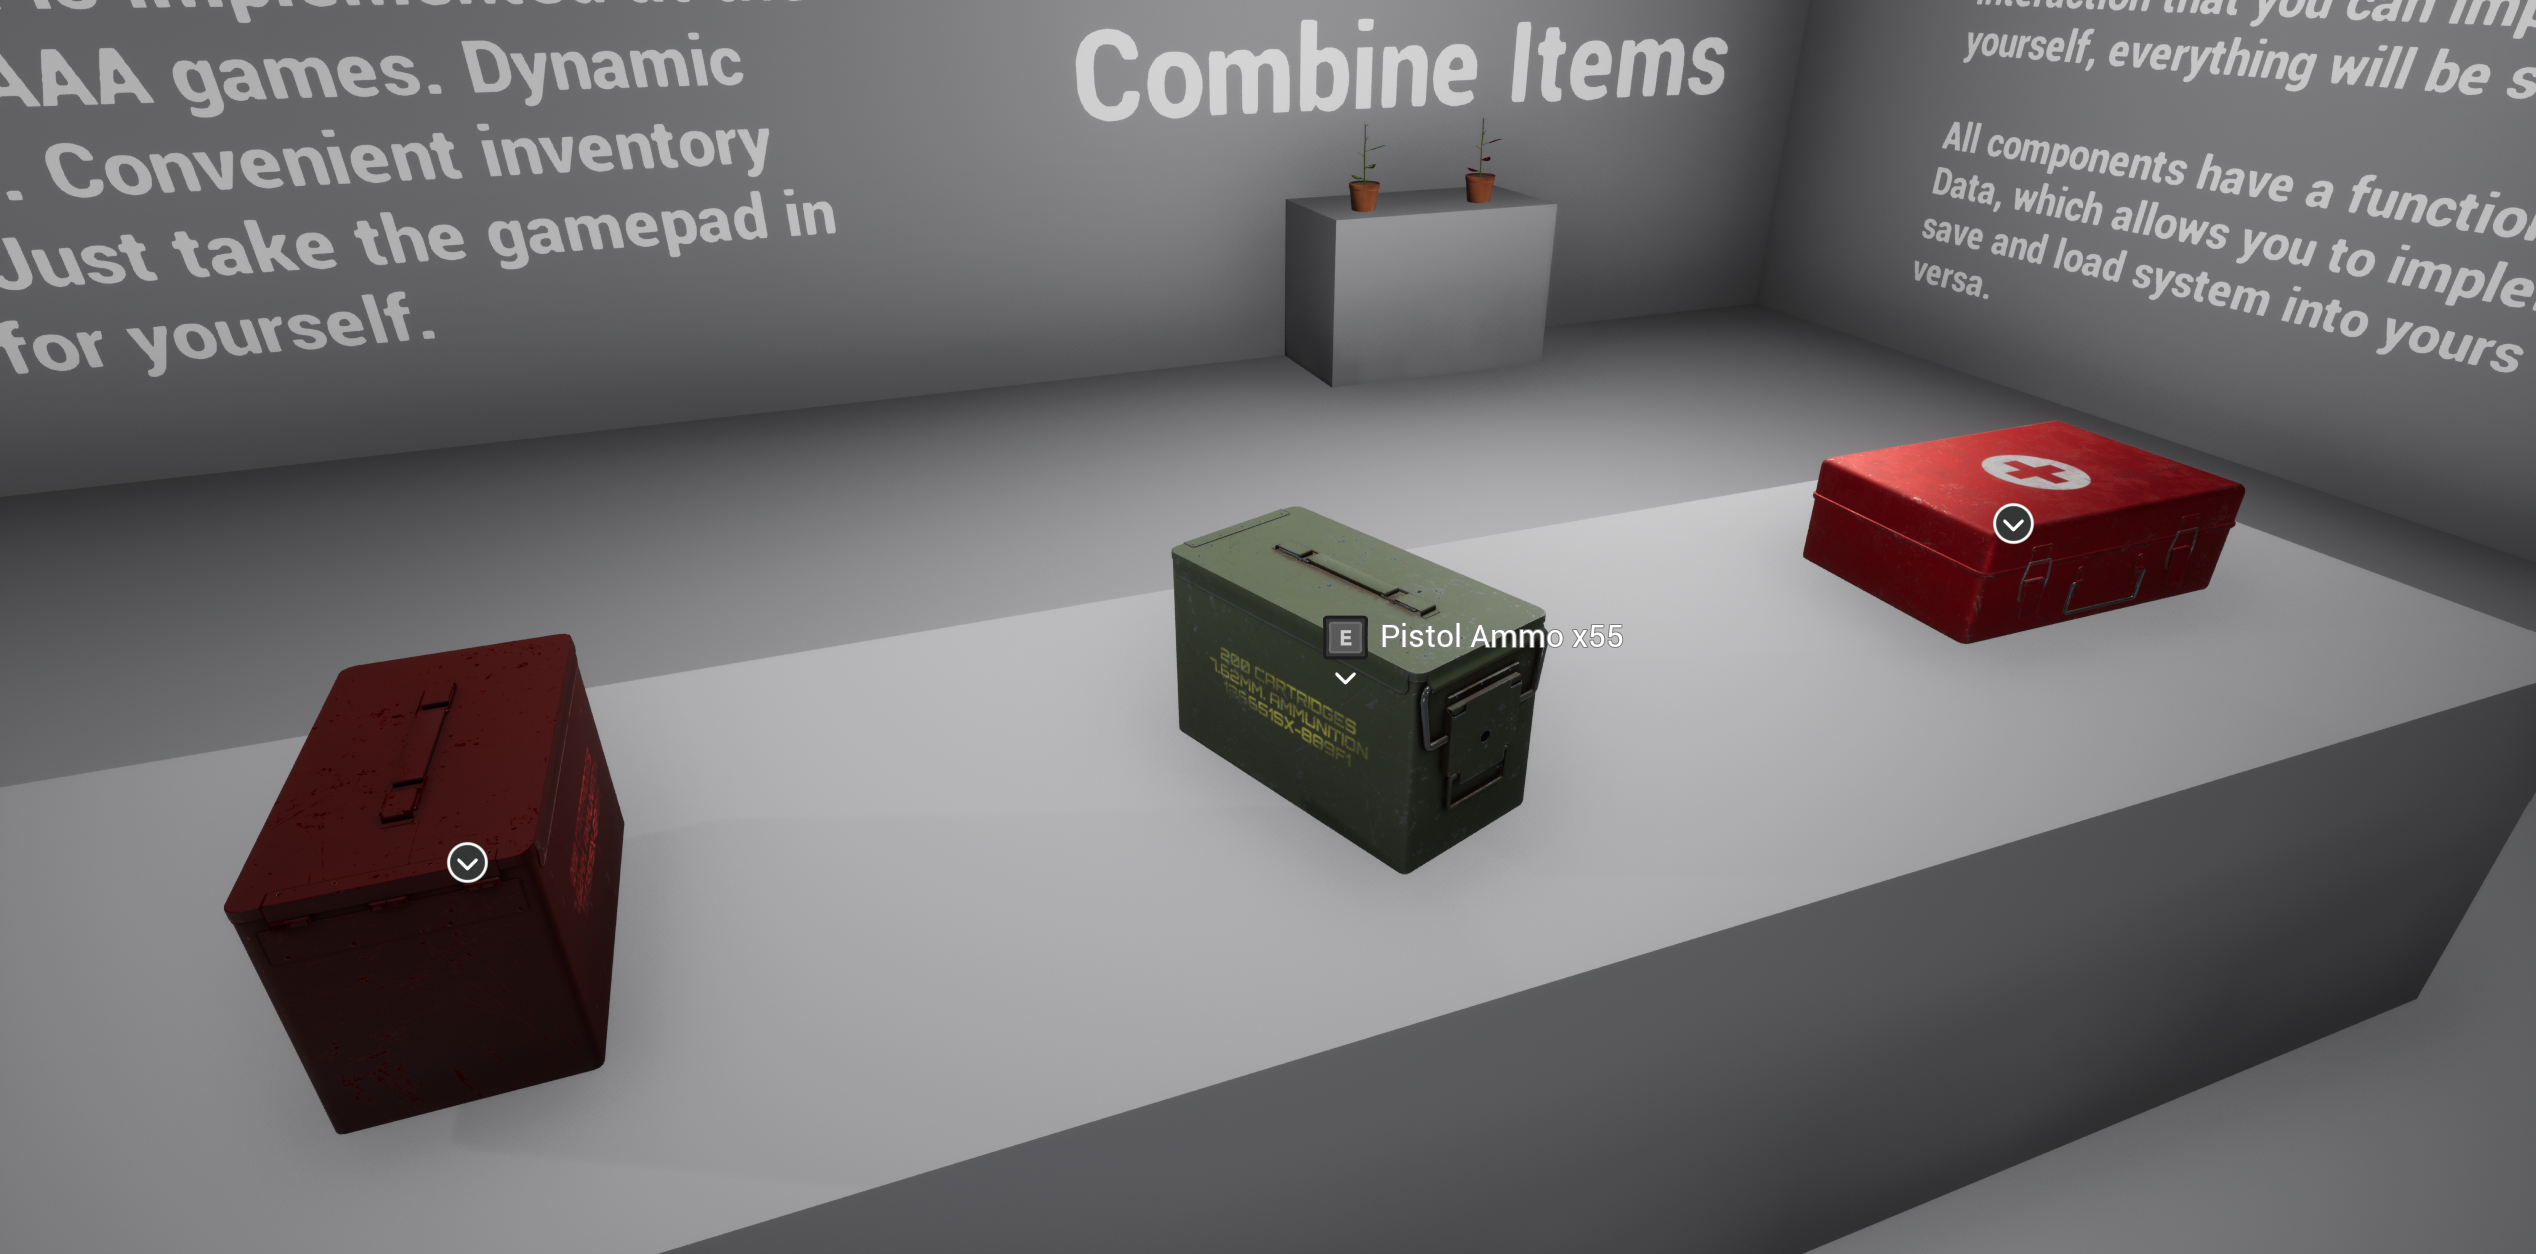
Now, all the items that you approach should be highlighted, and pressing the interaction button should trigger the interaction.
