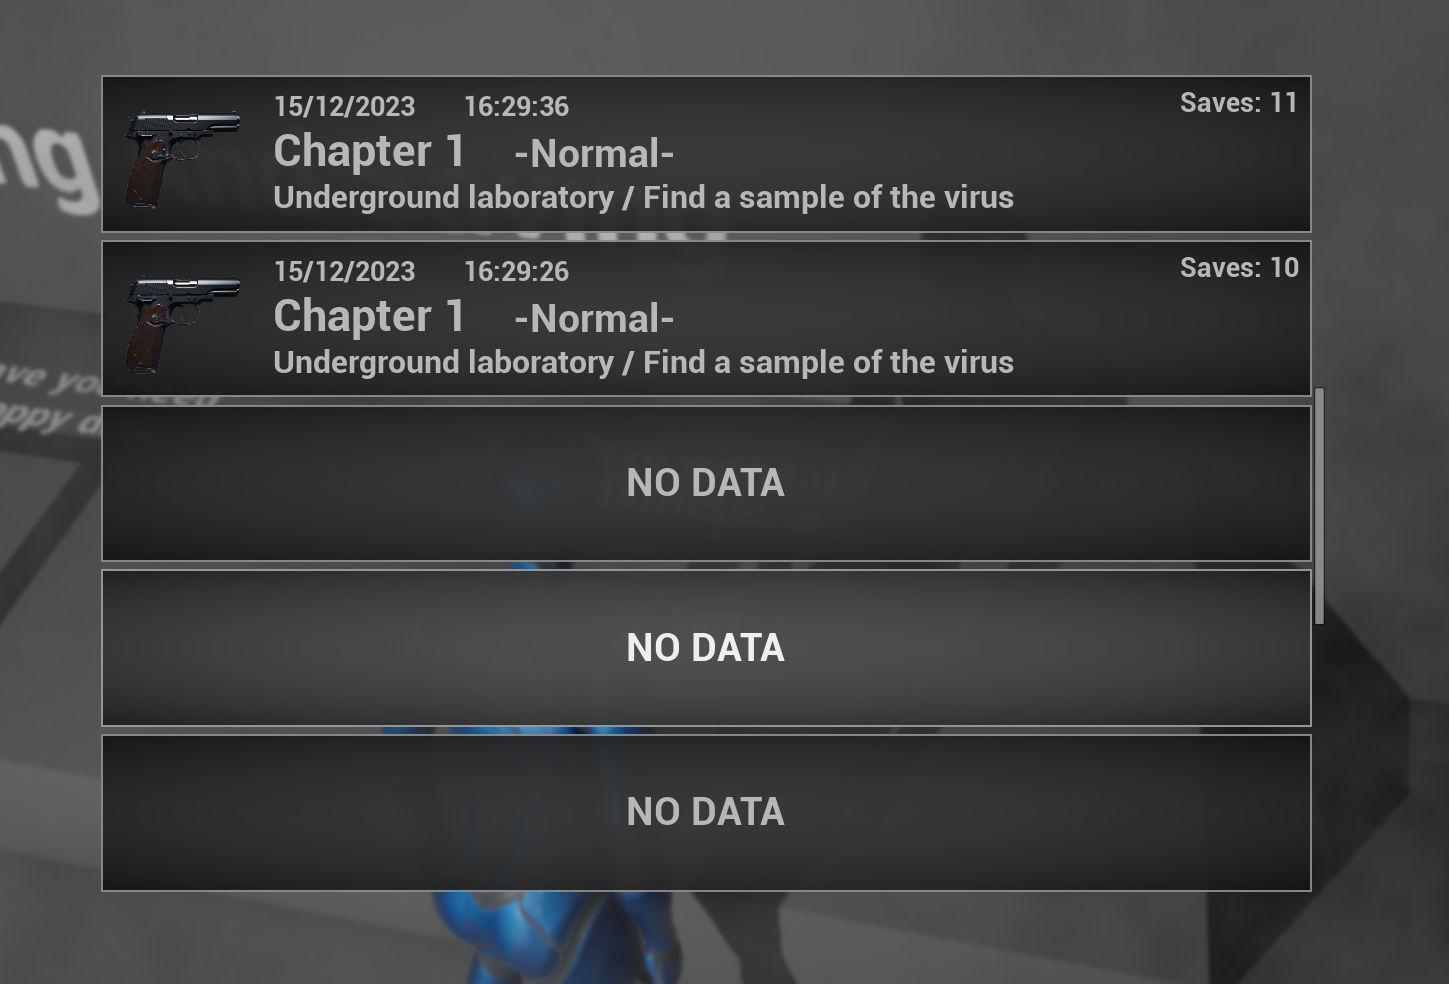
Save And Load UI
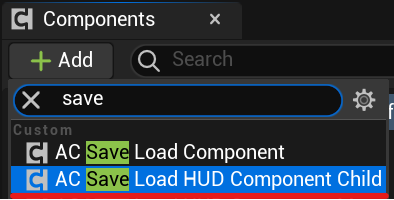
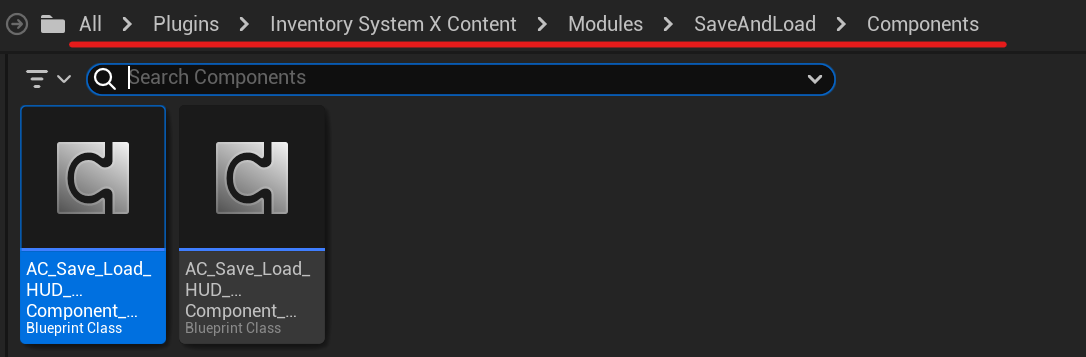
Add Component
This UI works in conjunction with the Smart Save System. Therefore, you need to configure it before proceeding with further steps.
You need to add AC Save Load HUD Component Child to the Player Controller or HUD.
BP Save Actor
Place the BP Save actor in the scene. It is located in the folder:
/Plugins/InventorySystemX/Content/Modules/SaveAndLoad/Actors/
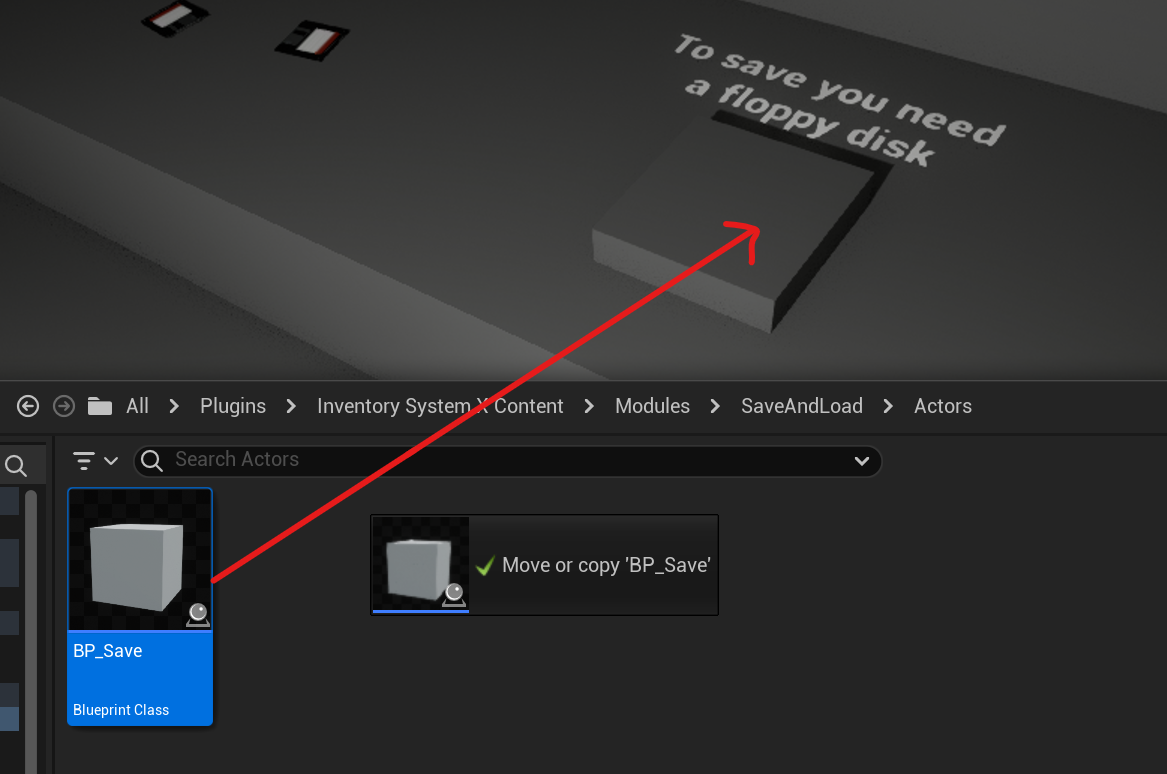
In the Details tab, you can specify whether to use the item for saving.
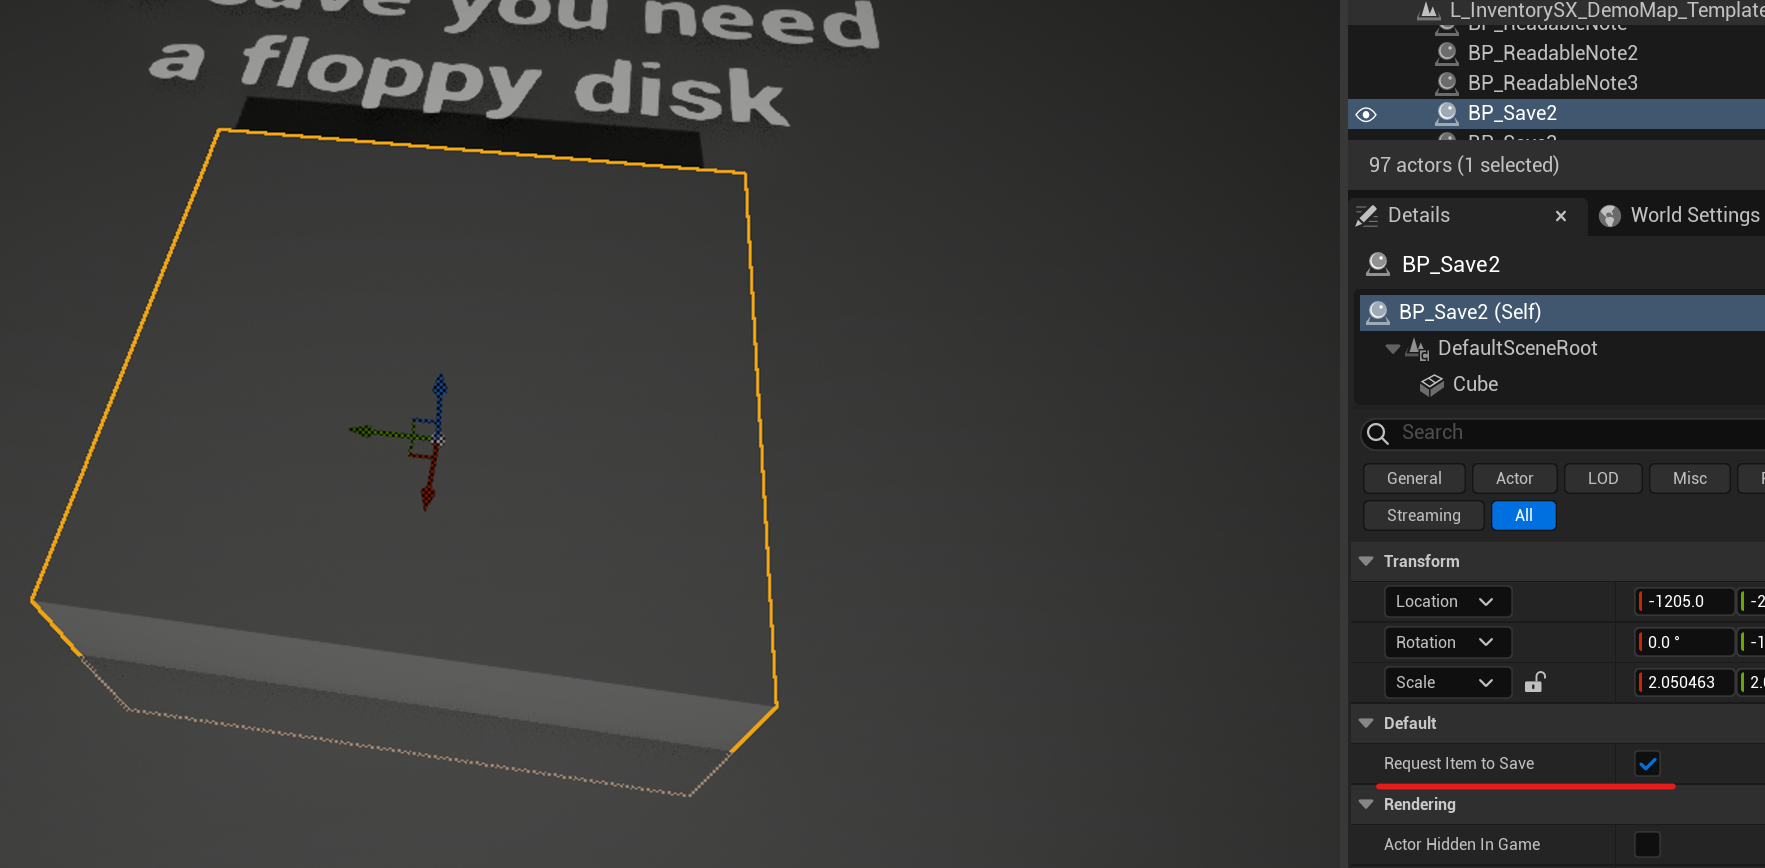
If you have set up the interaction system, you can interact with this actor and save the game.
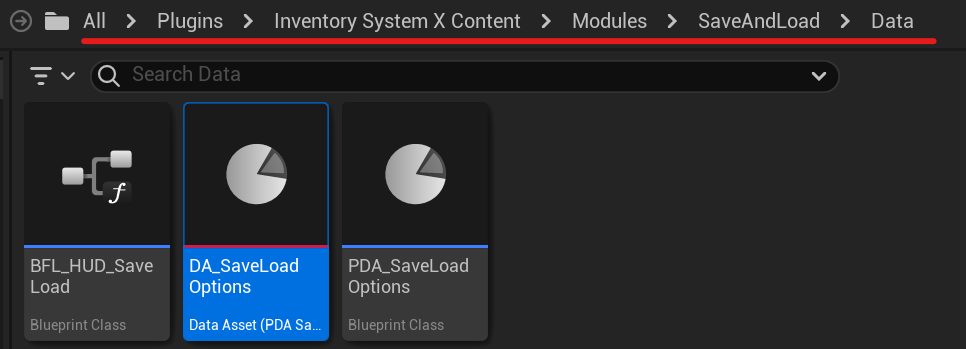
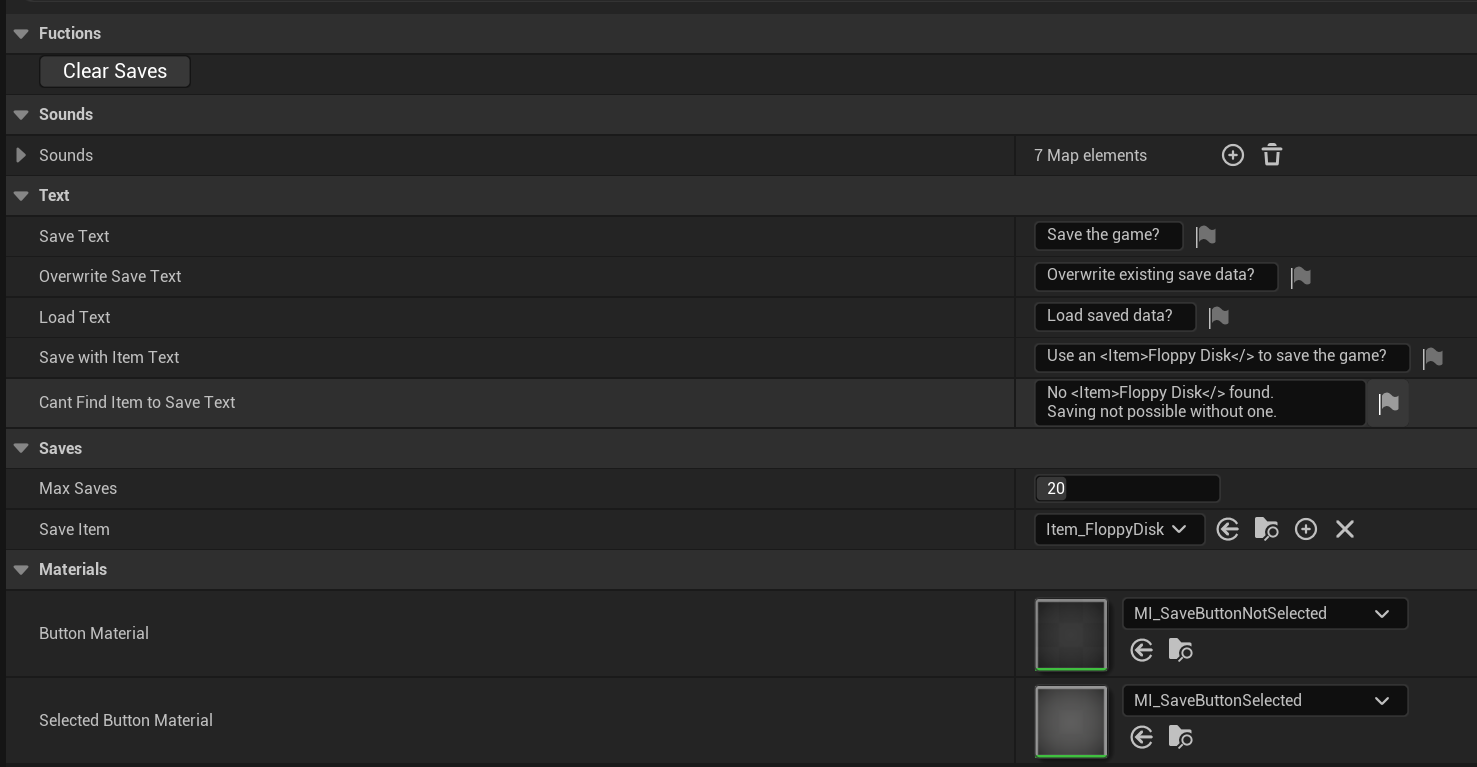
Options
To configure certain parameters, such as sounds and text messages, you need to open the DA Save Load Options settings
file located at:
/Plugins/InventorySystemX/Content/Modules/SaveAndLoad/Data/
Displayed Data
Open AC Save Load HUD Component Child.
To modify the text, image, difficulty, and other data written in the save widget, you need to edit these functions. For instance, you can obtain information from other actors here.


Save Custom Data
Open AC Save Load HUD Component Child.
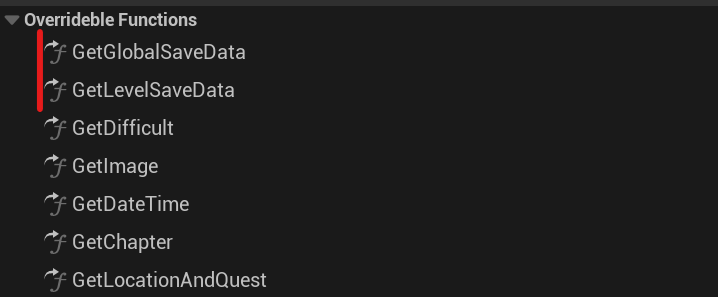
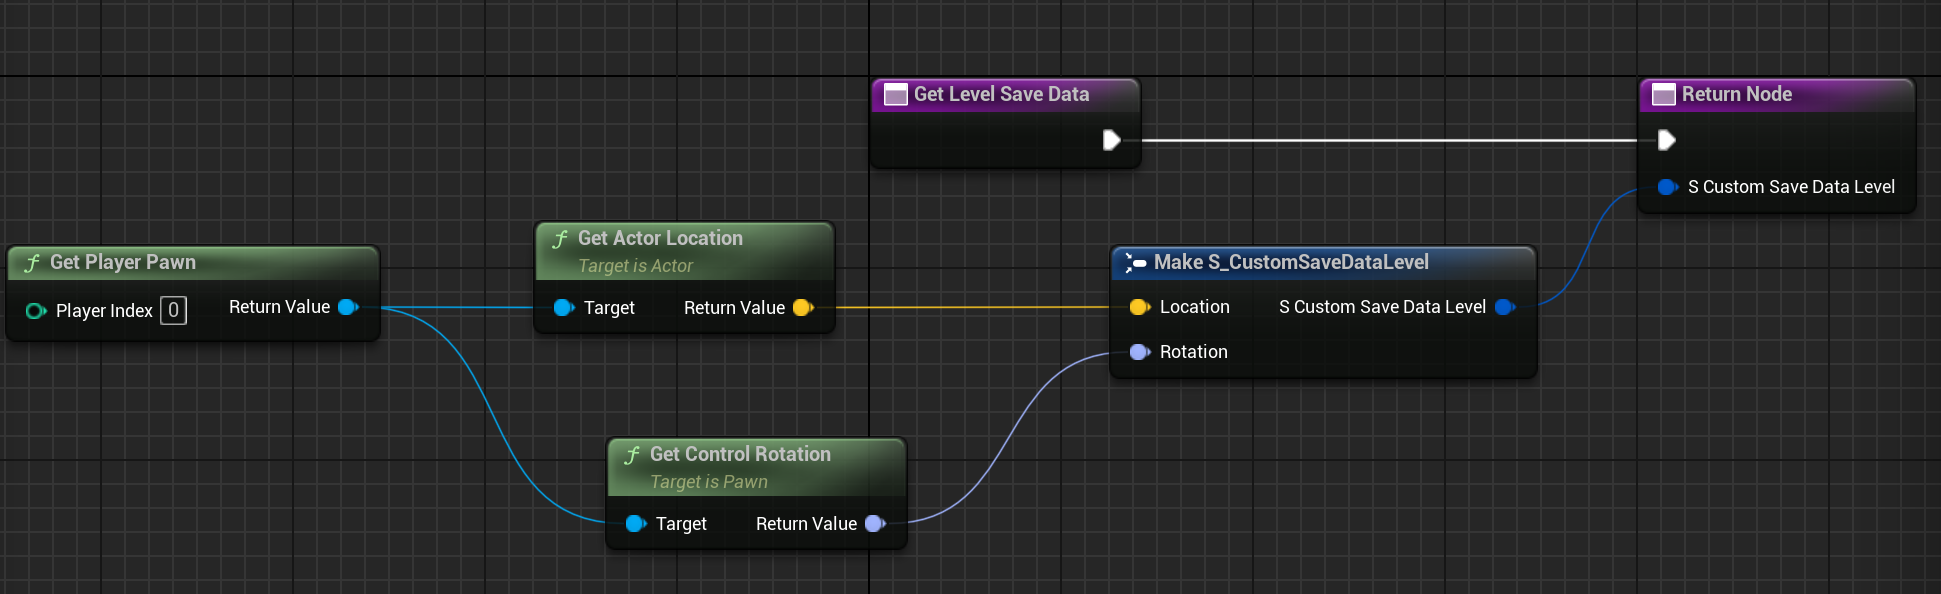
If you want to save your data, you should override these two functions: Get Global Save Data and Get Level Save Data.
Here is how I save the character's position on the level.
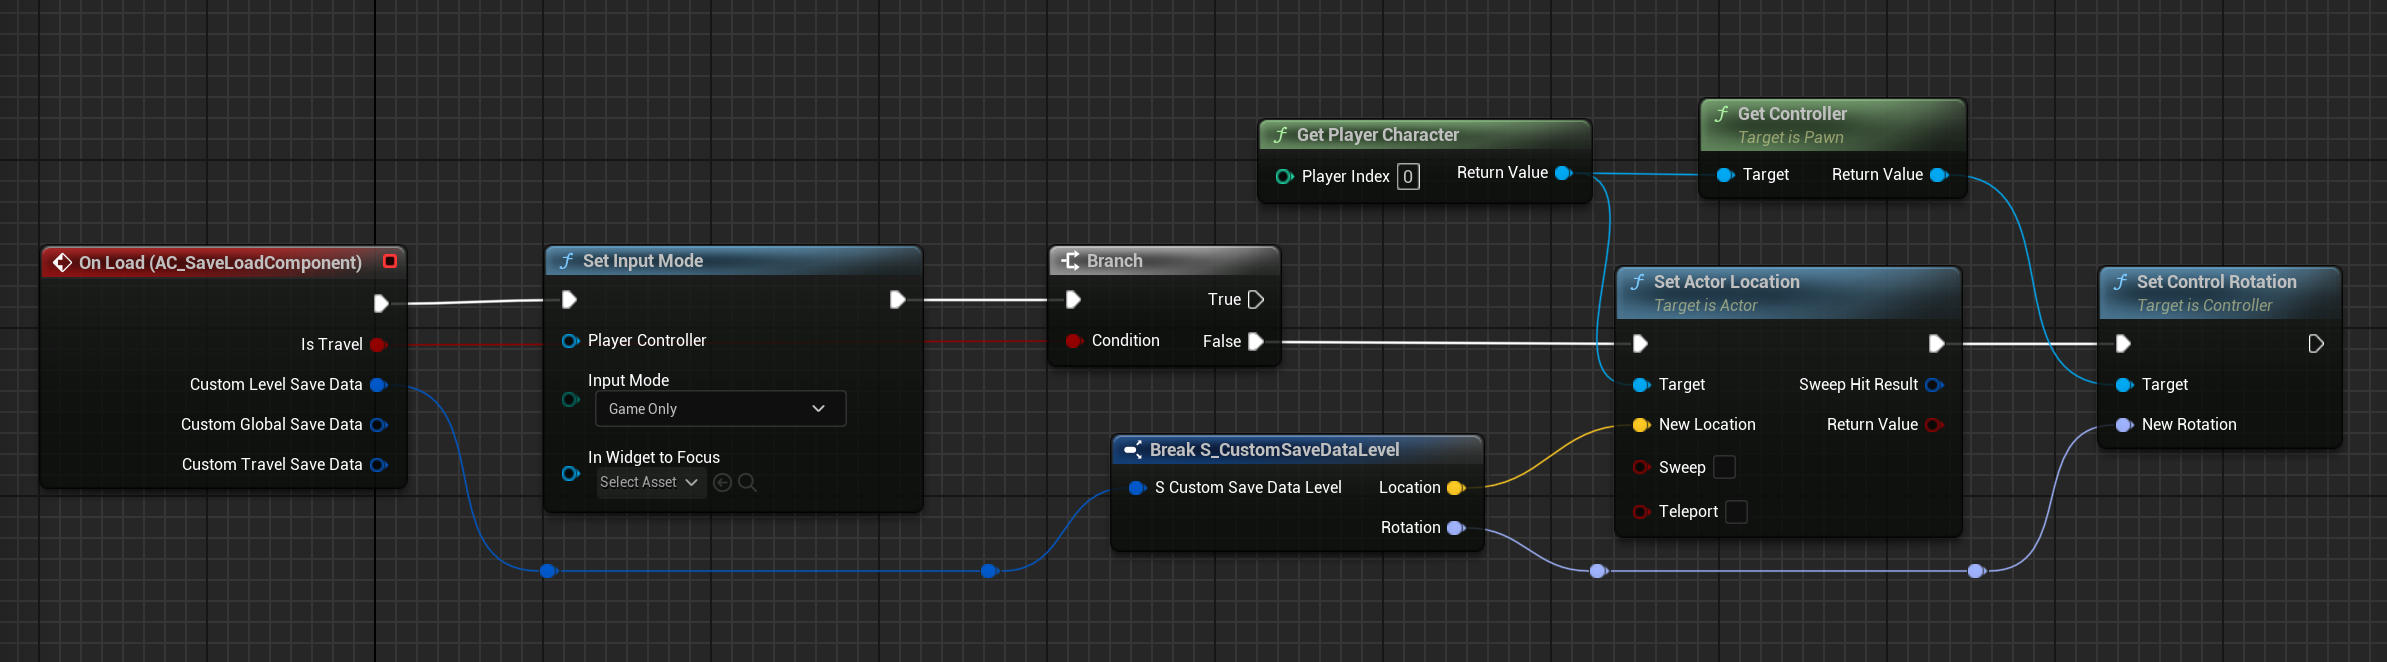
You need to subscribe to the On Load delegate in the Game Mode, which is located in the AC Save Load Component , to restore the character's position upon loading.
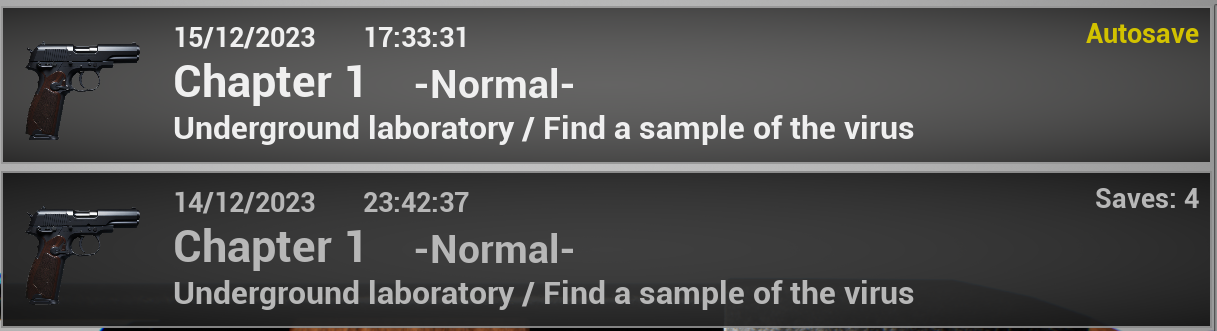
Auto saving
You can call the Autosave function anywhere in your code to save the game. This save will be displayed as a separate item in the load menu.
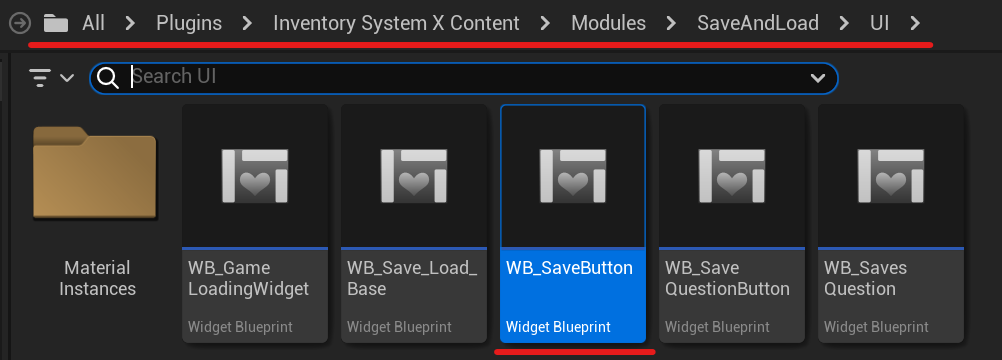
Appearance
If you want to make visual changes, such as changing the font or size of the save widget, you can do so in WB Save Button.