Interaction Components
To enable the interaction system, you need to add the Player Interaction Component to your character.
There are two interaction components that you can attach to an actor or object in the scene:
Actor Interaction Component - adds the ability to interact with any item when you look at it.The interaction icon will be in the center of the actor, but you can offset it in the settings. You can only add one such component to an actor. After interaction, the "On Interact Server" event is triggered, to which you can attach any logic. You can also open the inventory to select an item for interaction, such as a key to unlock a door. When the item is selected correctly, the "On Select Item Server" event is triggered.
Scene Interaction Component - similar to the Actor Interaction Component, but the interaction center will be at the center of the component itself, which can be moved. It should be placed outside, not inside any object. For example, if you attach it to one side of a door handle, you won't be able to interact with it from the other side. You can add as many of these components to an actor as needed. For a better understanding, I recommend studying the BP_Door blueprint.
The Actor Interaction Component is also automatically added to Storage Components and World Items, and you can modify its settings in them. For example, you can offset the interaction widget or give them a different name.
Actor Interaction Component
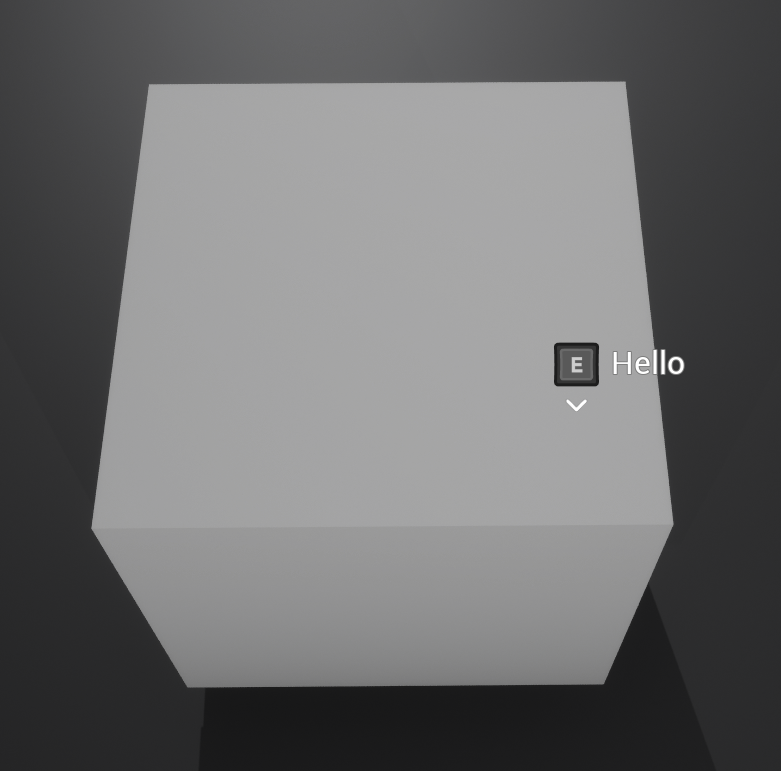
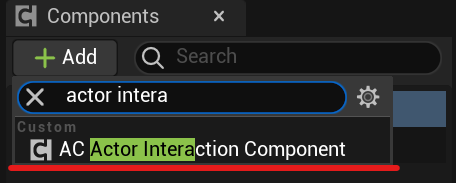
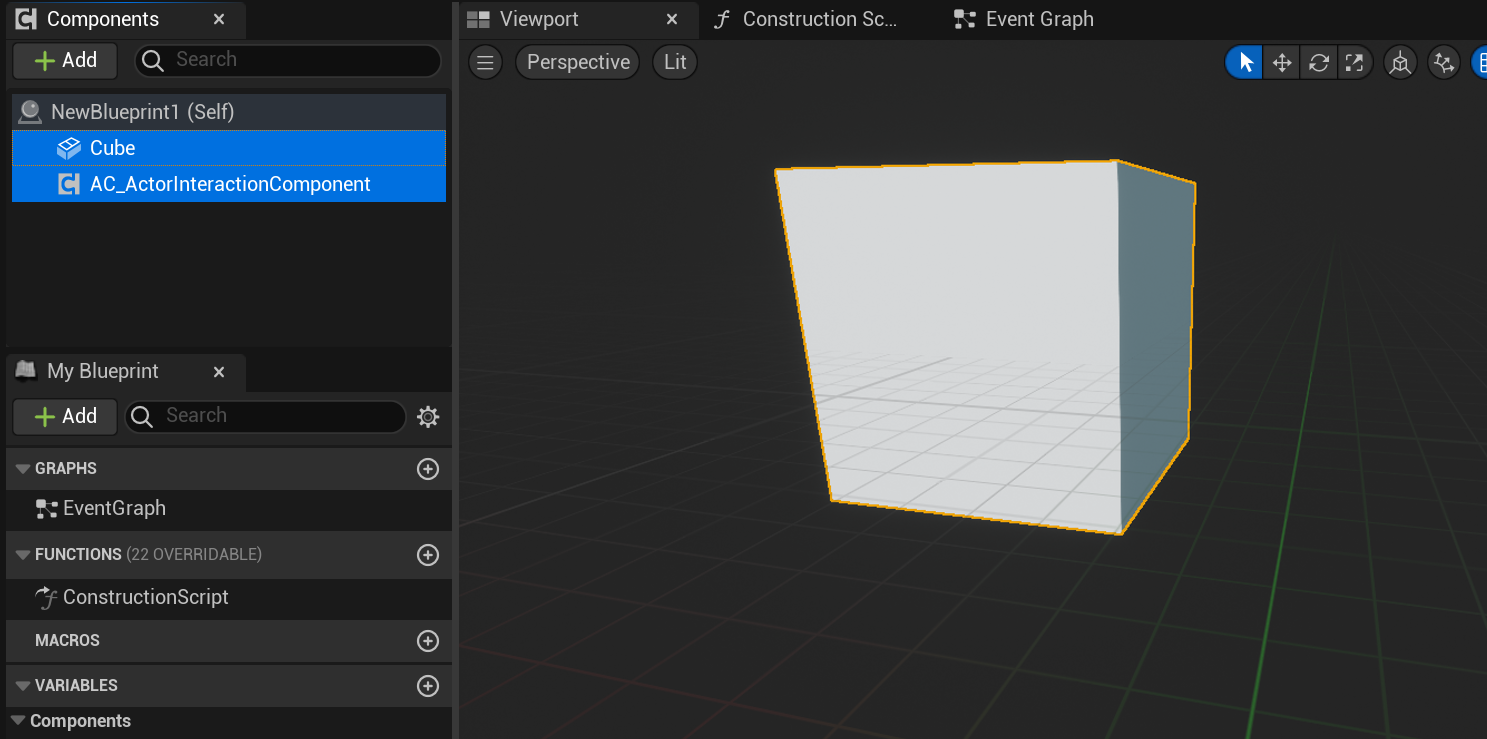
I added an Actor Interaction Component to the Actor, and I also added a cube mesh to it
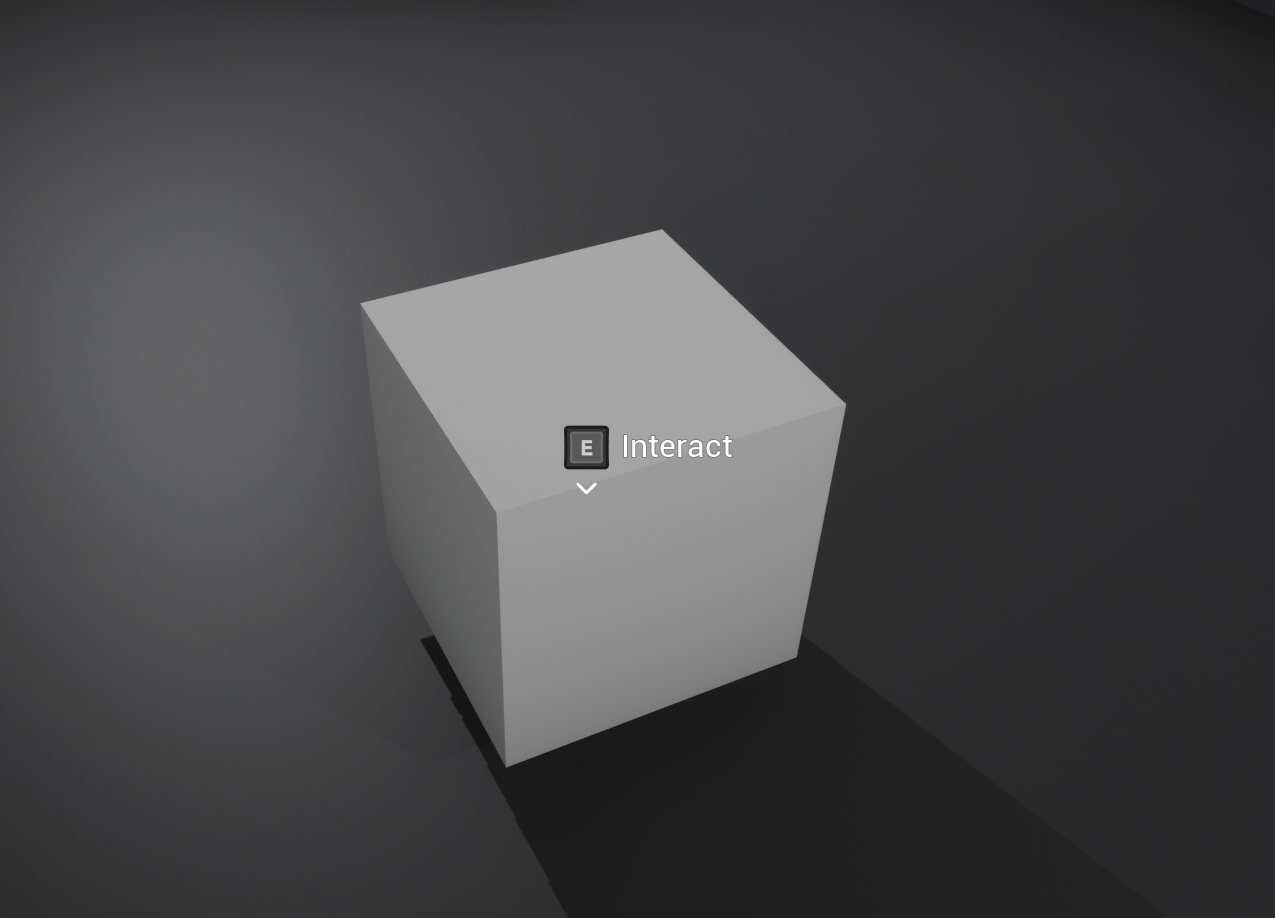
After placing it in the scene, a widget for interaction appears on it, but nothing happens when interacting with it.
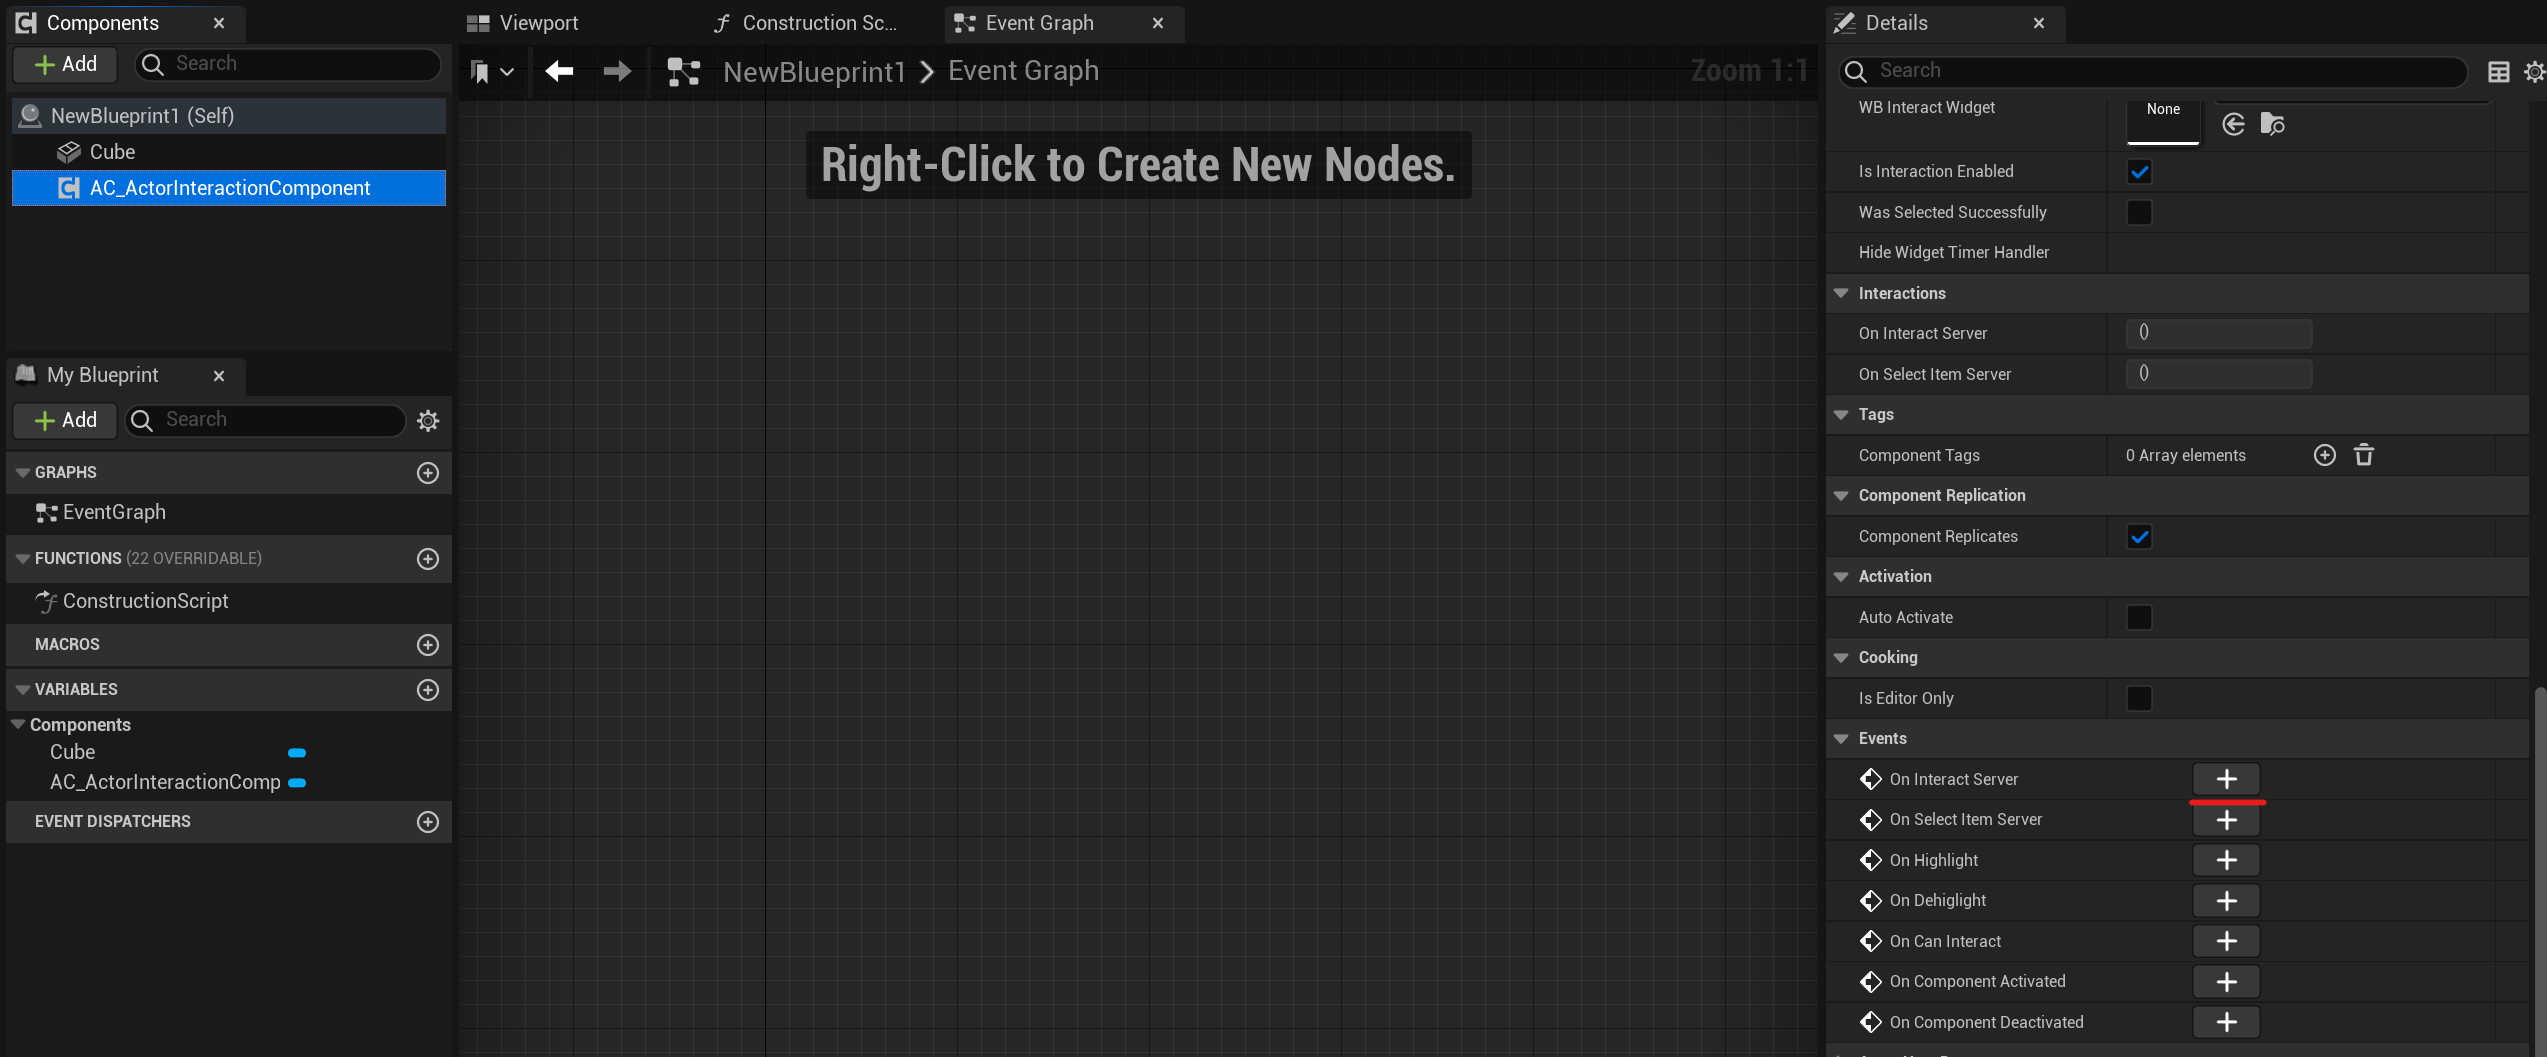
Subscribe to the "On Interact Server" event and add any logic you want to it.
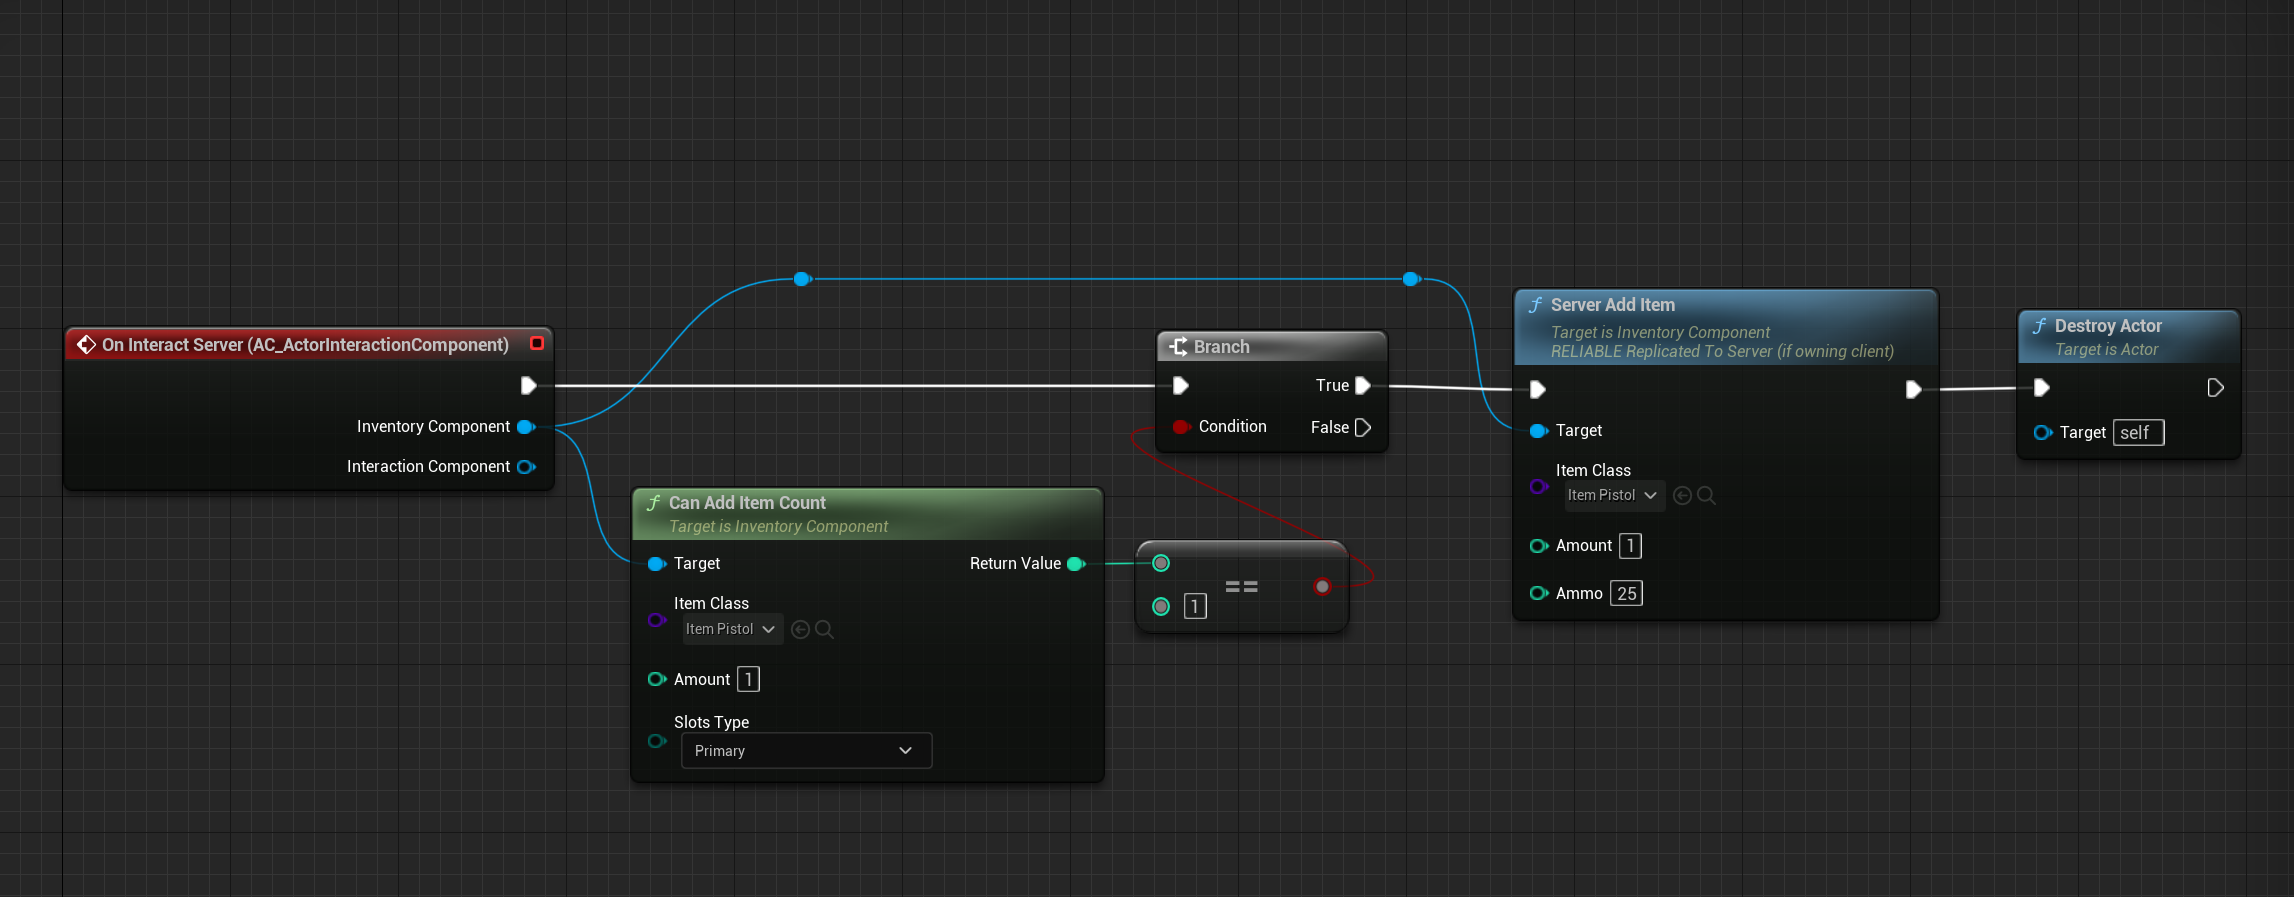
In the example, I'm checking if I can add a pistol to the inventory and, if so, I add it and remove the actor. As you might have guessed from the function name, it runs on the server, but if you're creating a single-player game, you don't need to worry about it.
Selecting an inventory item for interaction
In order to open the inventory and choose a suitable item for interaction, you need to check the "Open Inventory For Item Selection" option to true, and add the desired items to the "Interactive Items" array.
You can also choose actions that you want to occur after a successful interaction, such as removing the item that was used.

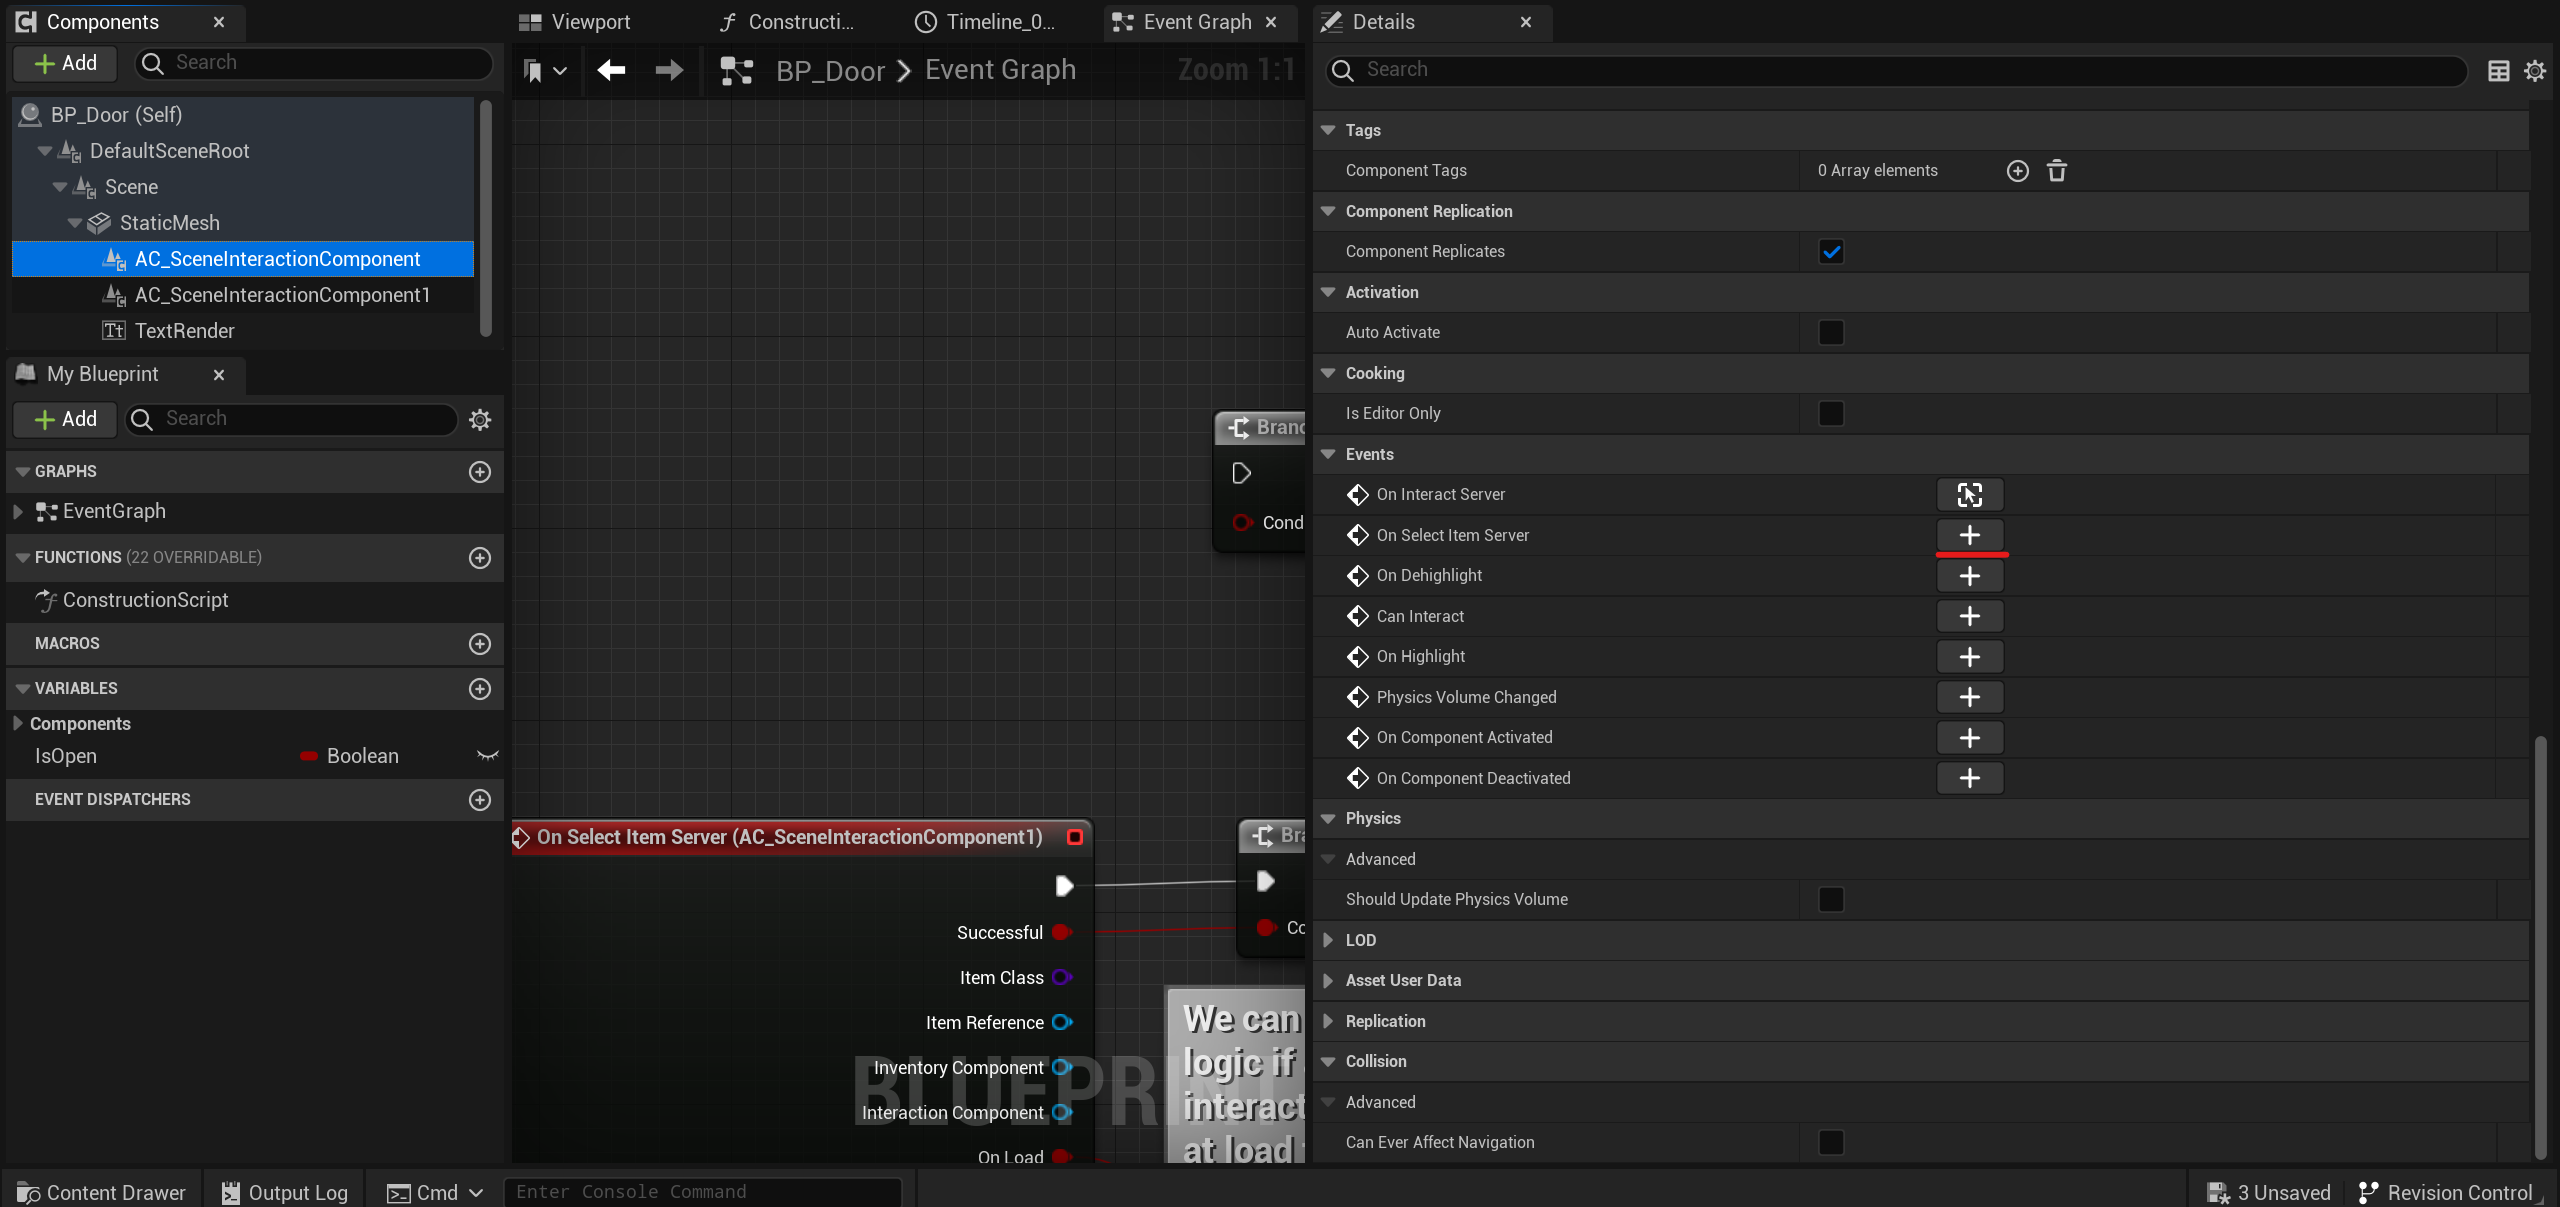
Now you can subscribe to an event that will always trigger upon successful or unsuccessful item selection.
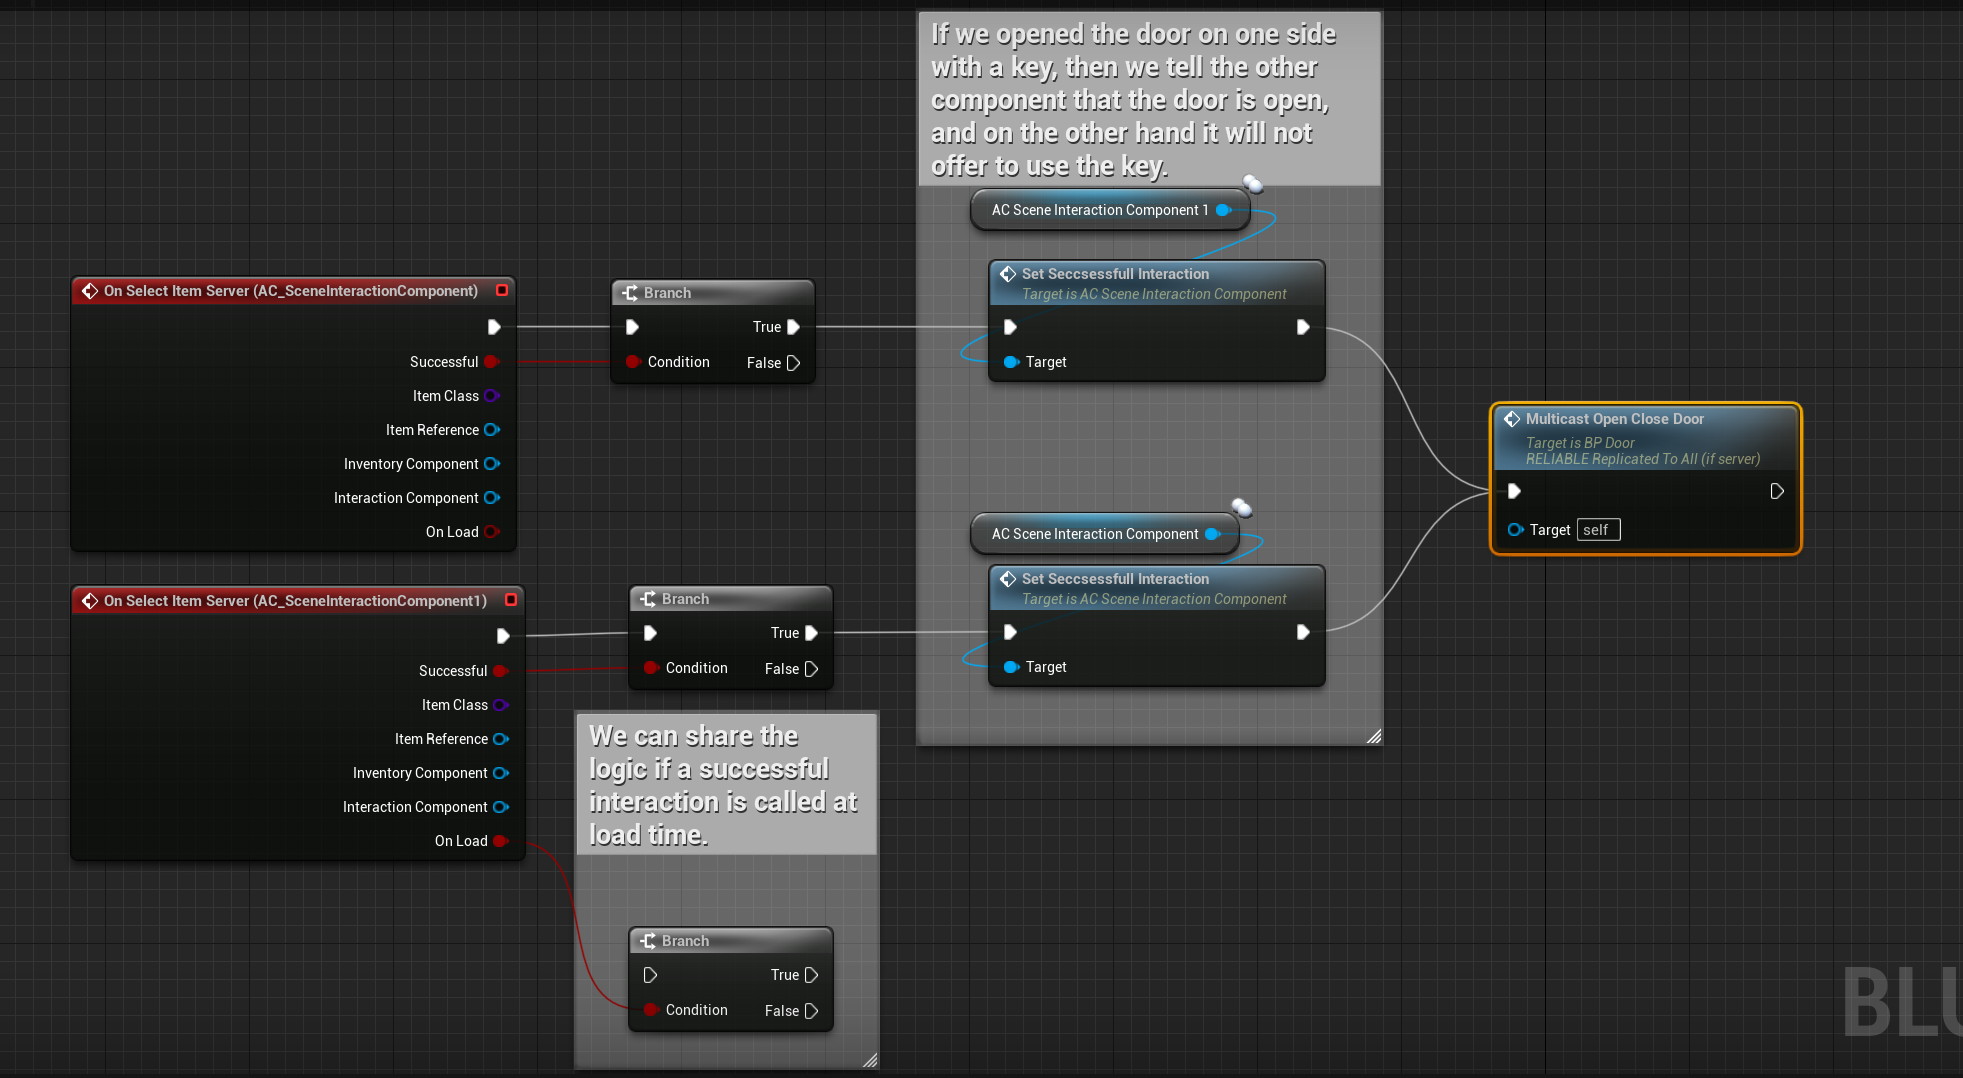
Here's an example of door logic with a Scene Interaction Component on each handle. Upon successful item selection, we first notify the component on the other handle that a successful interaction has occurred. Then, the door opening logic is triggered.
Regular interaction is also blocked until the required item is selected.

Options
You can change the name and offset of the interaction icon both in the item on the scene and in the blueprint of the Actor itself.
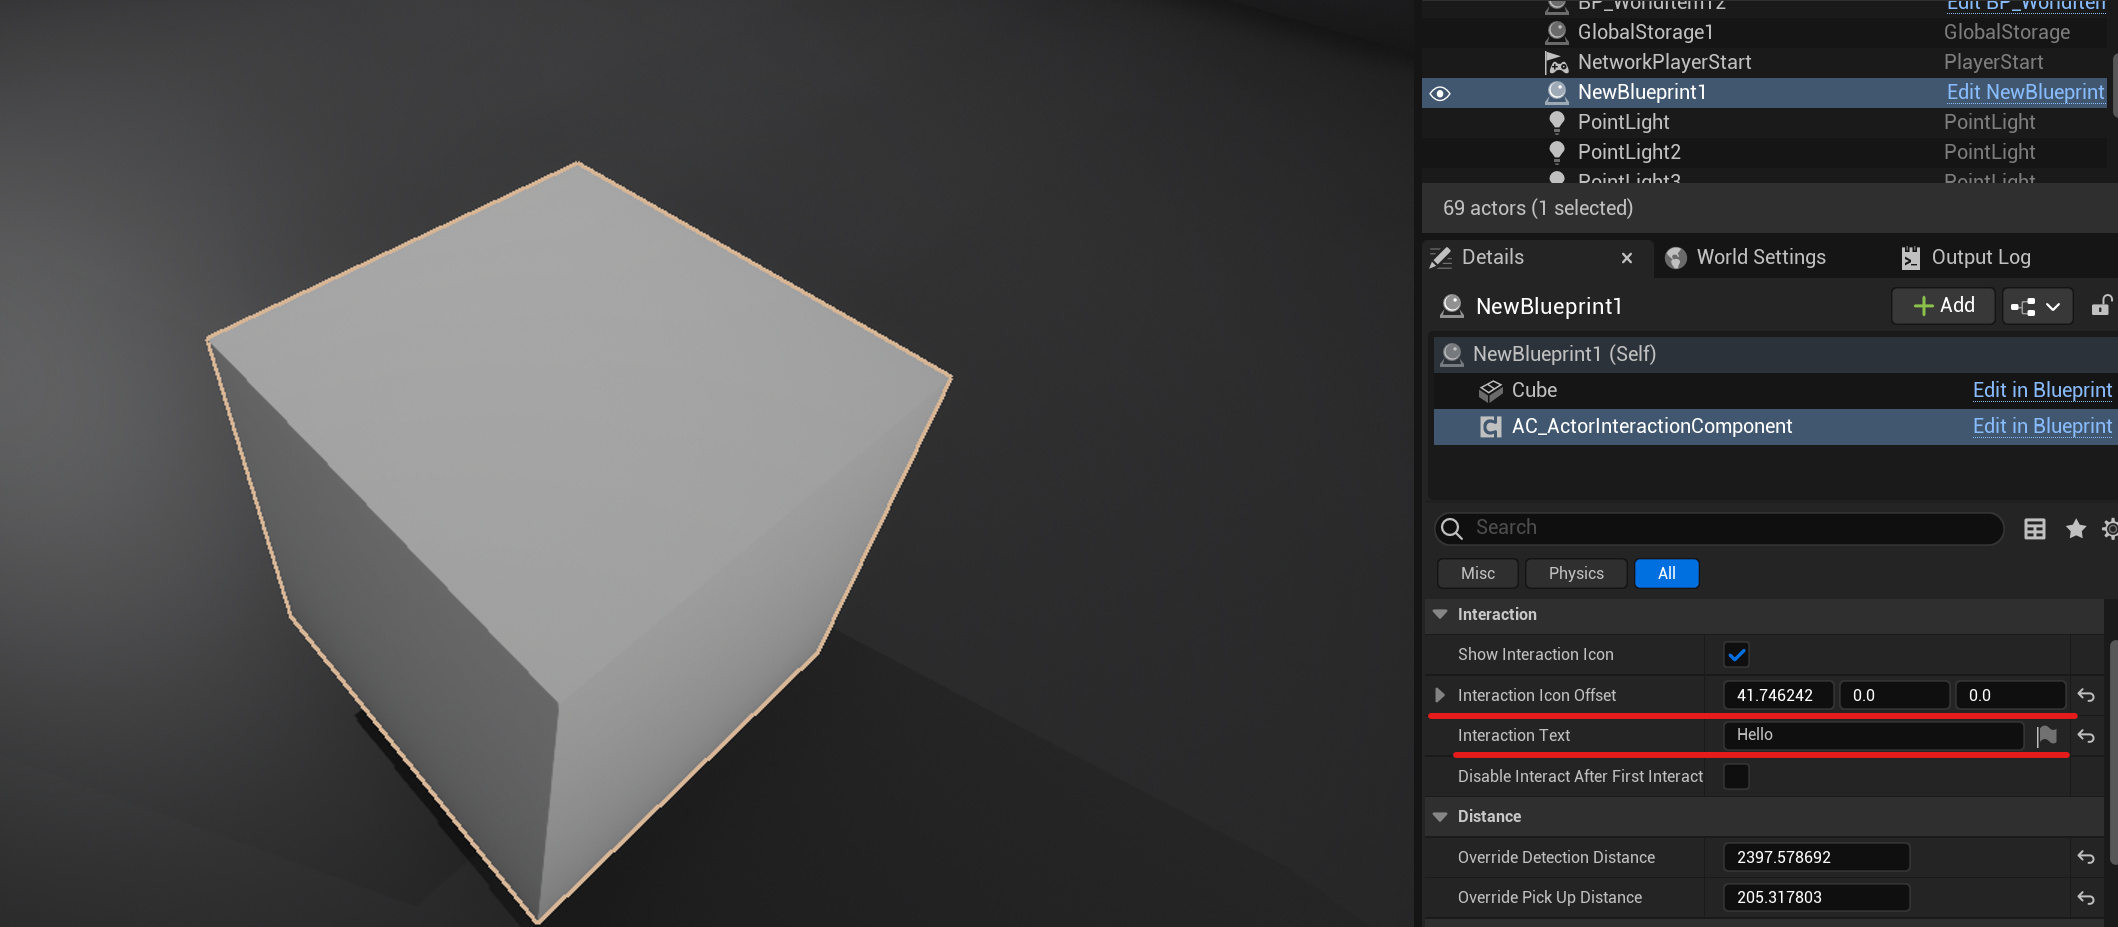
You can also adjust the distance at which the item is highlighted and at which interaction is possible.
