Integration And Note Creation
Add Notes Component
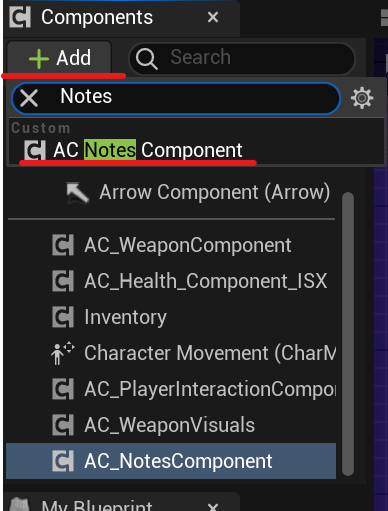
Open your character's blueprint and add AC Notes Component to it.
To make the widget with the lists of read notes display correctly, you need to enable the "Show Tabs" option in the Options file.
Create a note
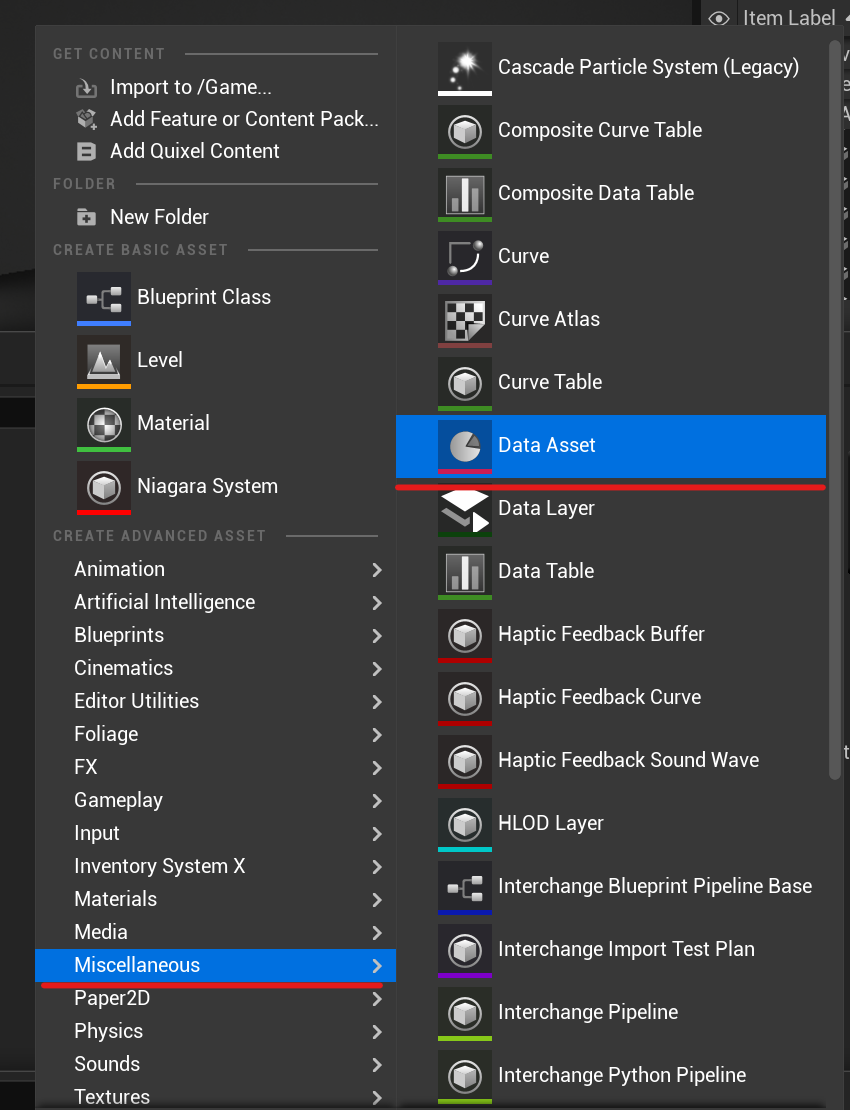
First, you need to create a new data asset. To do this, right-click in the content browser, and in the Miscellaneous tab, select the Data Asset option.
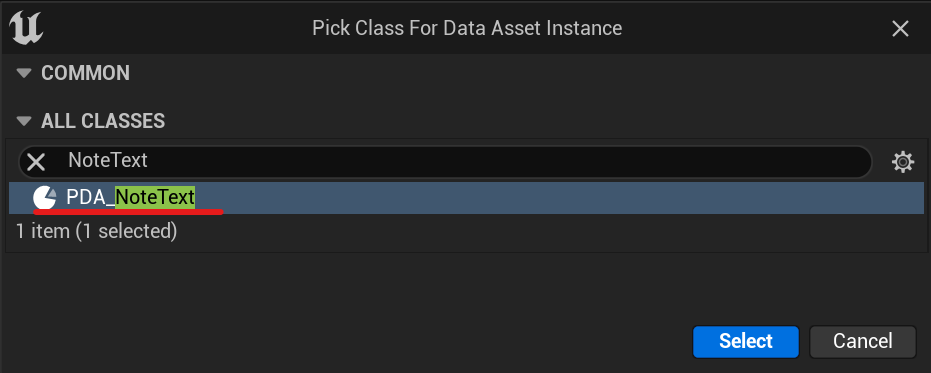
In the window that appears, choose PDA_NoteText.
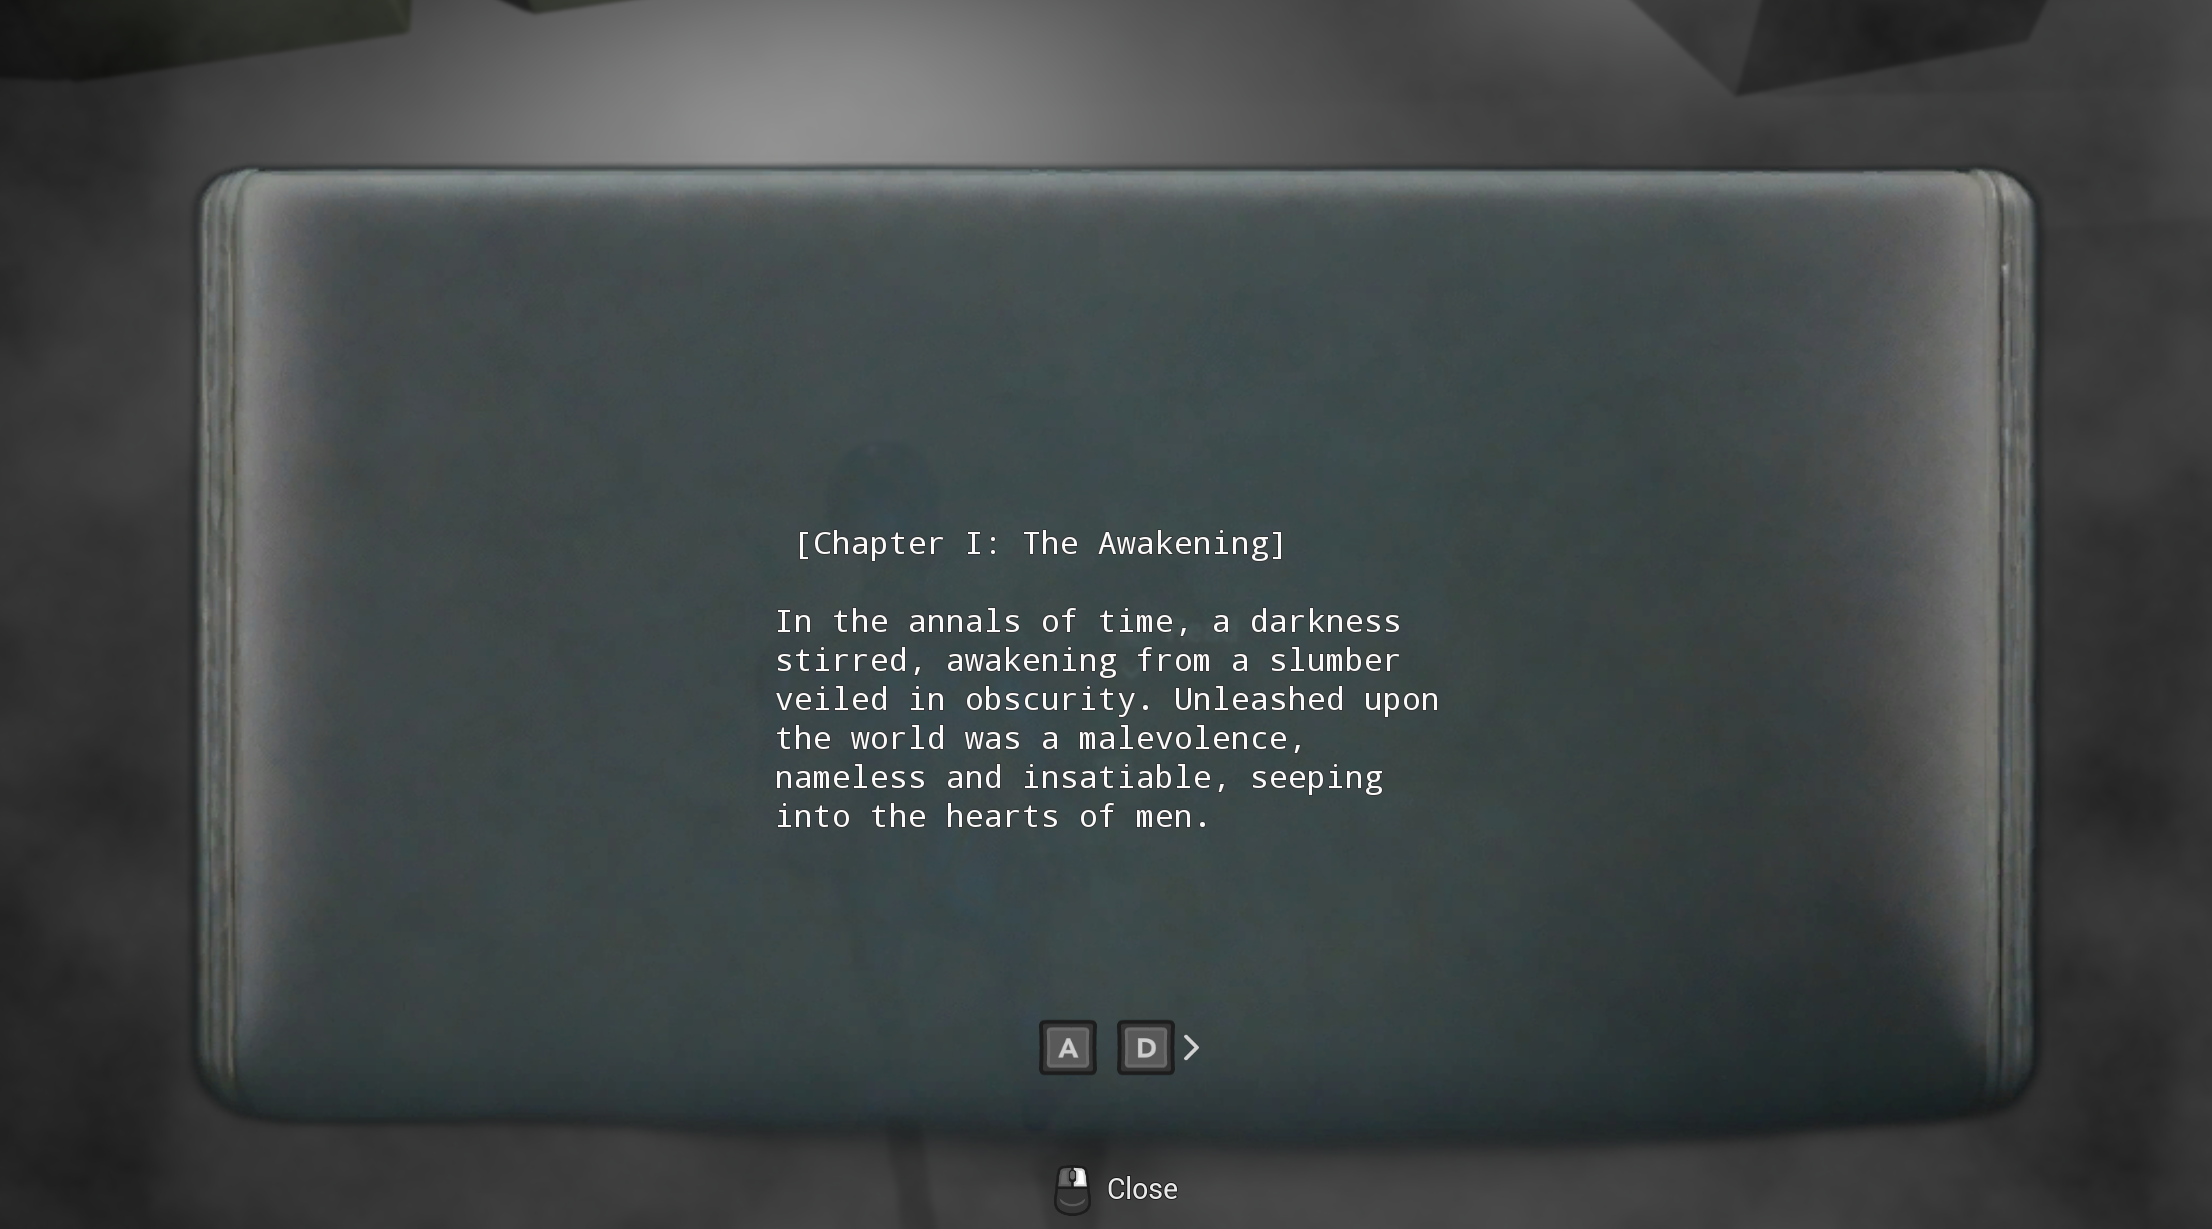
Open the newly created file. Add the required number of pages to the Pages array and fill them with the text that you want to display in your note.

Select the tab where your note will appear after being read in the widget that displays all the notes. If you don't want the note to appear there, simply choose "None."
Also, choose a name for the note to display it in the list of notes.

Select mesh to visually display your note when you place it on the map.

Here you can select the mesh that will be displayed in the background of your note. Set its position, rotation and
scale.
You can also choose for this mesh to occupy either the entire first or last pages of your note.

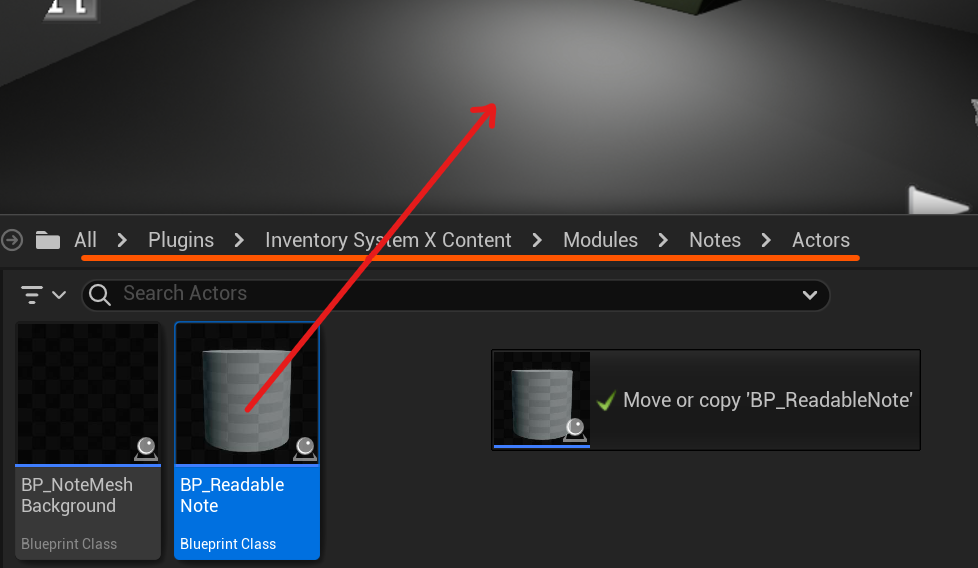
Place a note on the map
Drag and drop the BP_ReadableNote onto the map.
In the Details tab, choose the Data Asset you created for the note. Choose whether the item should be destroyed after reading.
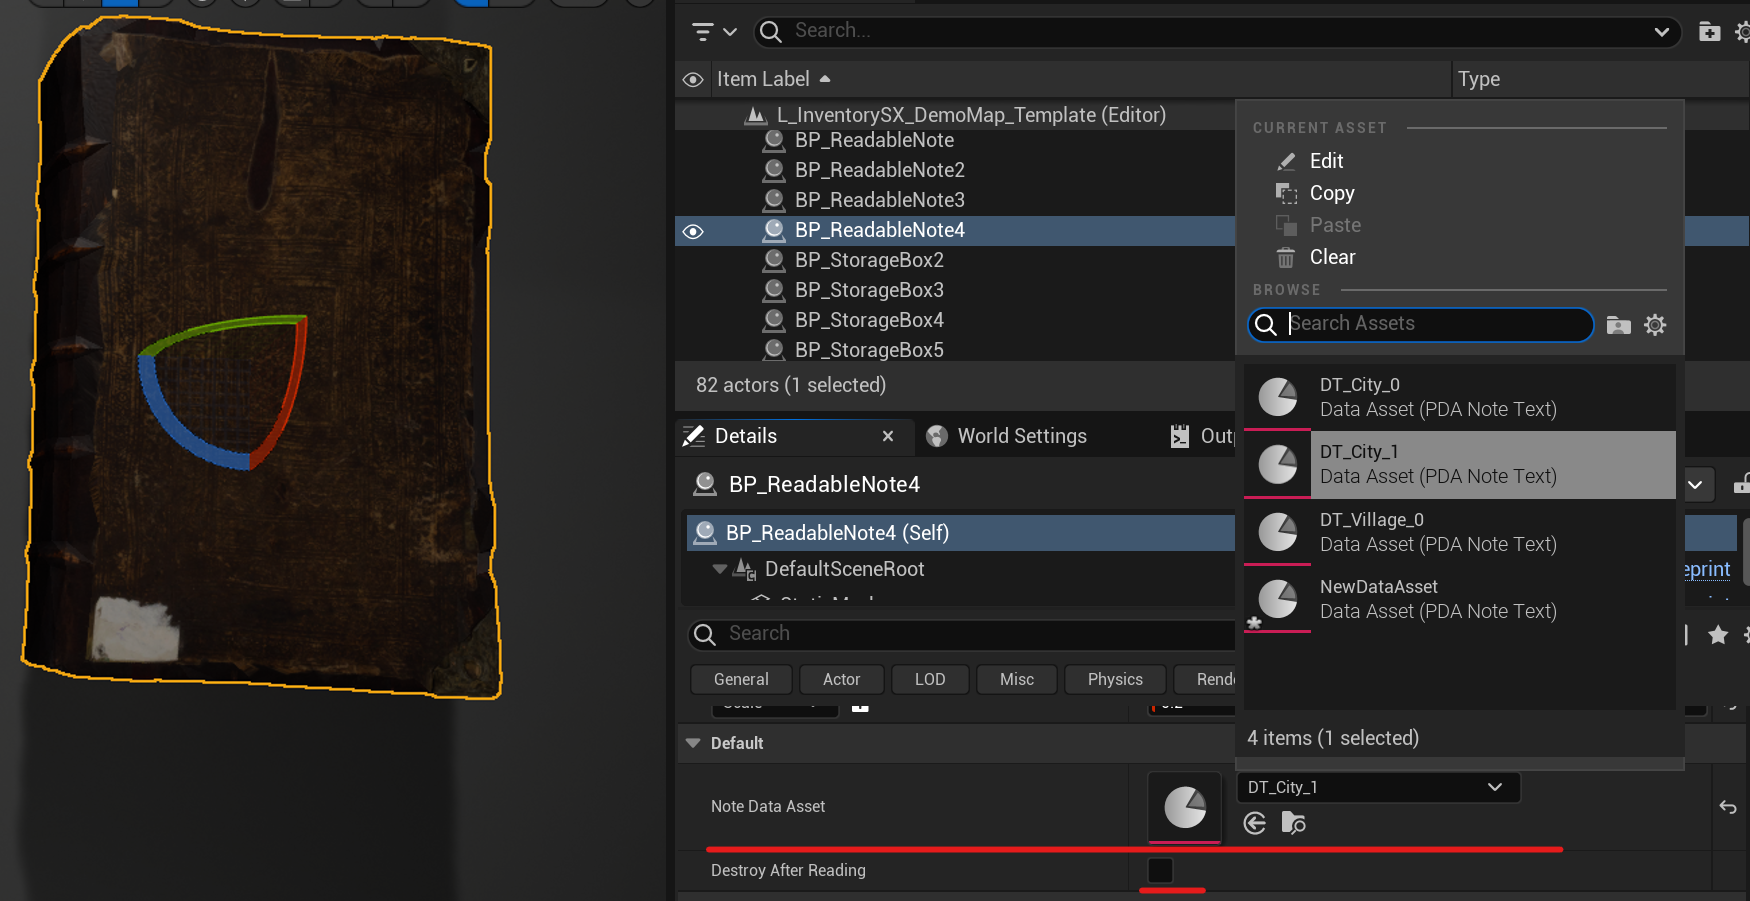
Done. Now you can interact with the note and read it.